The sale represents the standard operation at the POS. As soon as a sale is completed, the stocks are then always adjusted in real time in the selected warehouse. Each order can be found in the Shopware backend after payment has been completed. The documents created (receipt, vouchers, etc.) are also stored there.
Content
Select/create customer (optional)
Remove item(s) from shopping cart
Apply item discount and adjust price
Select different shipping method (optional)
Select/create customer (optional)
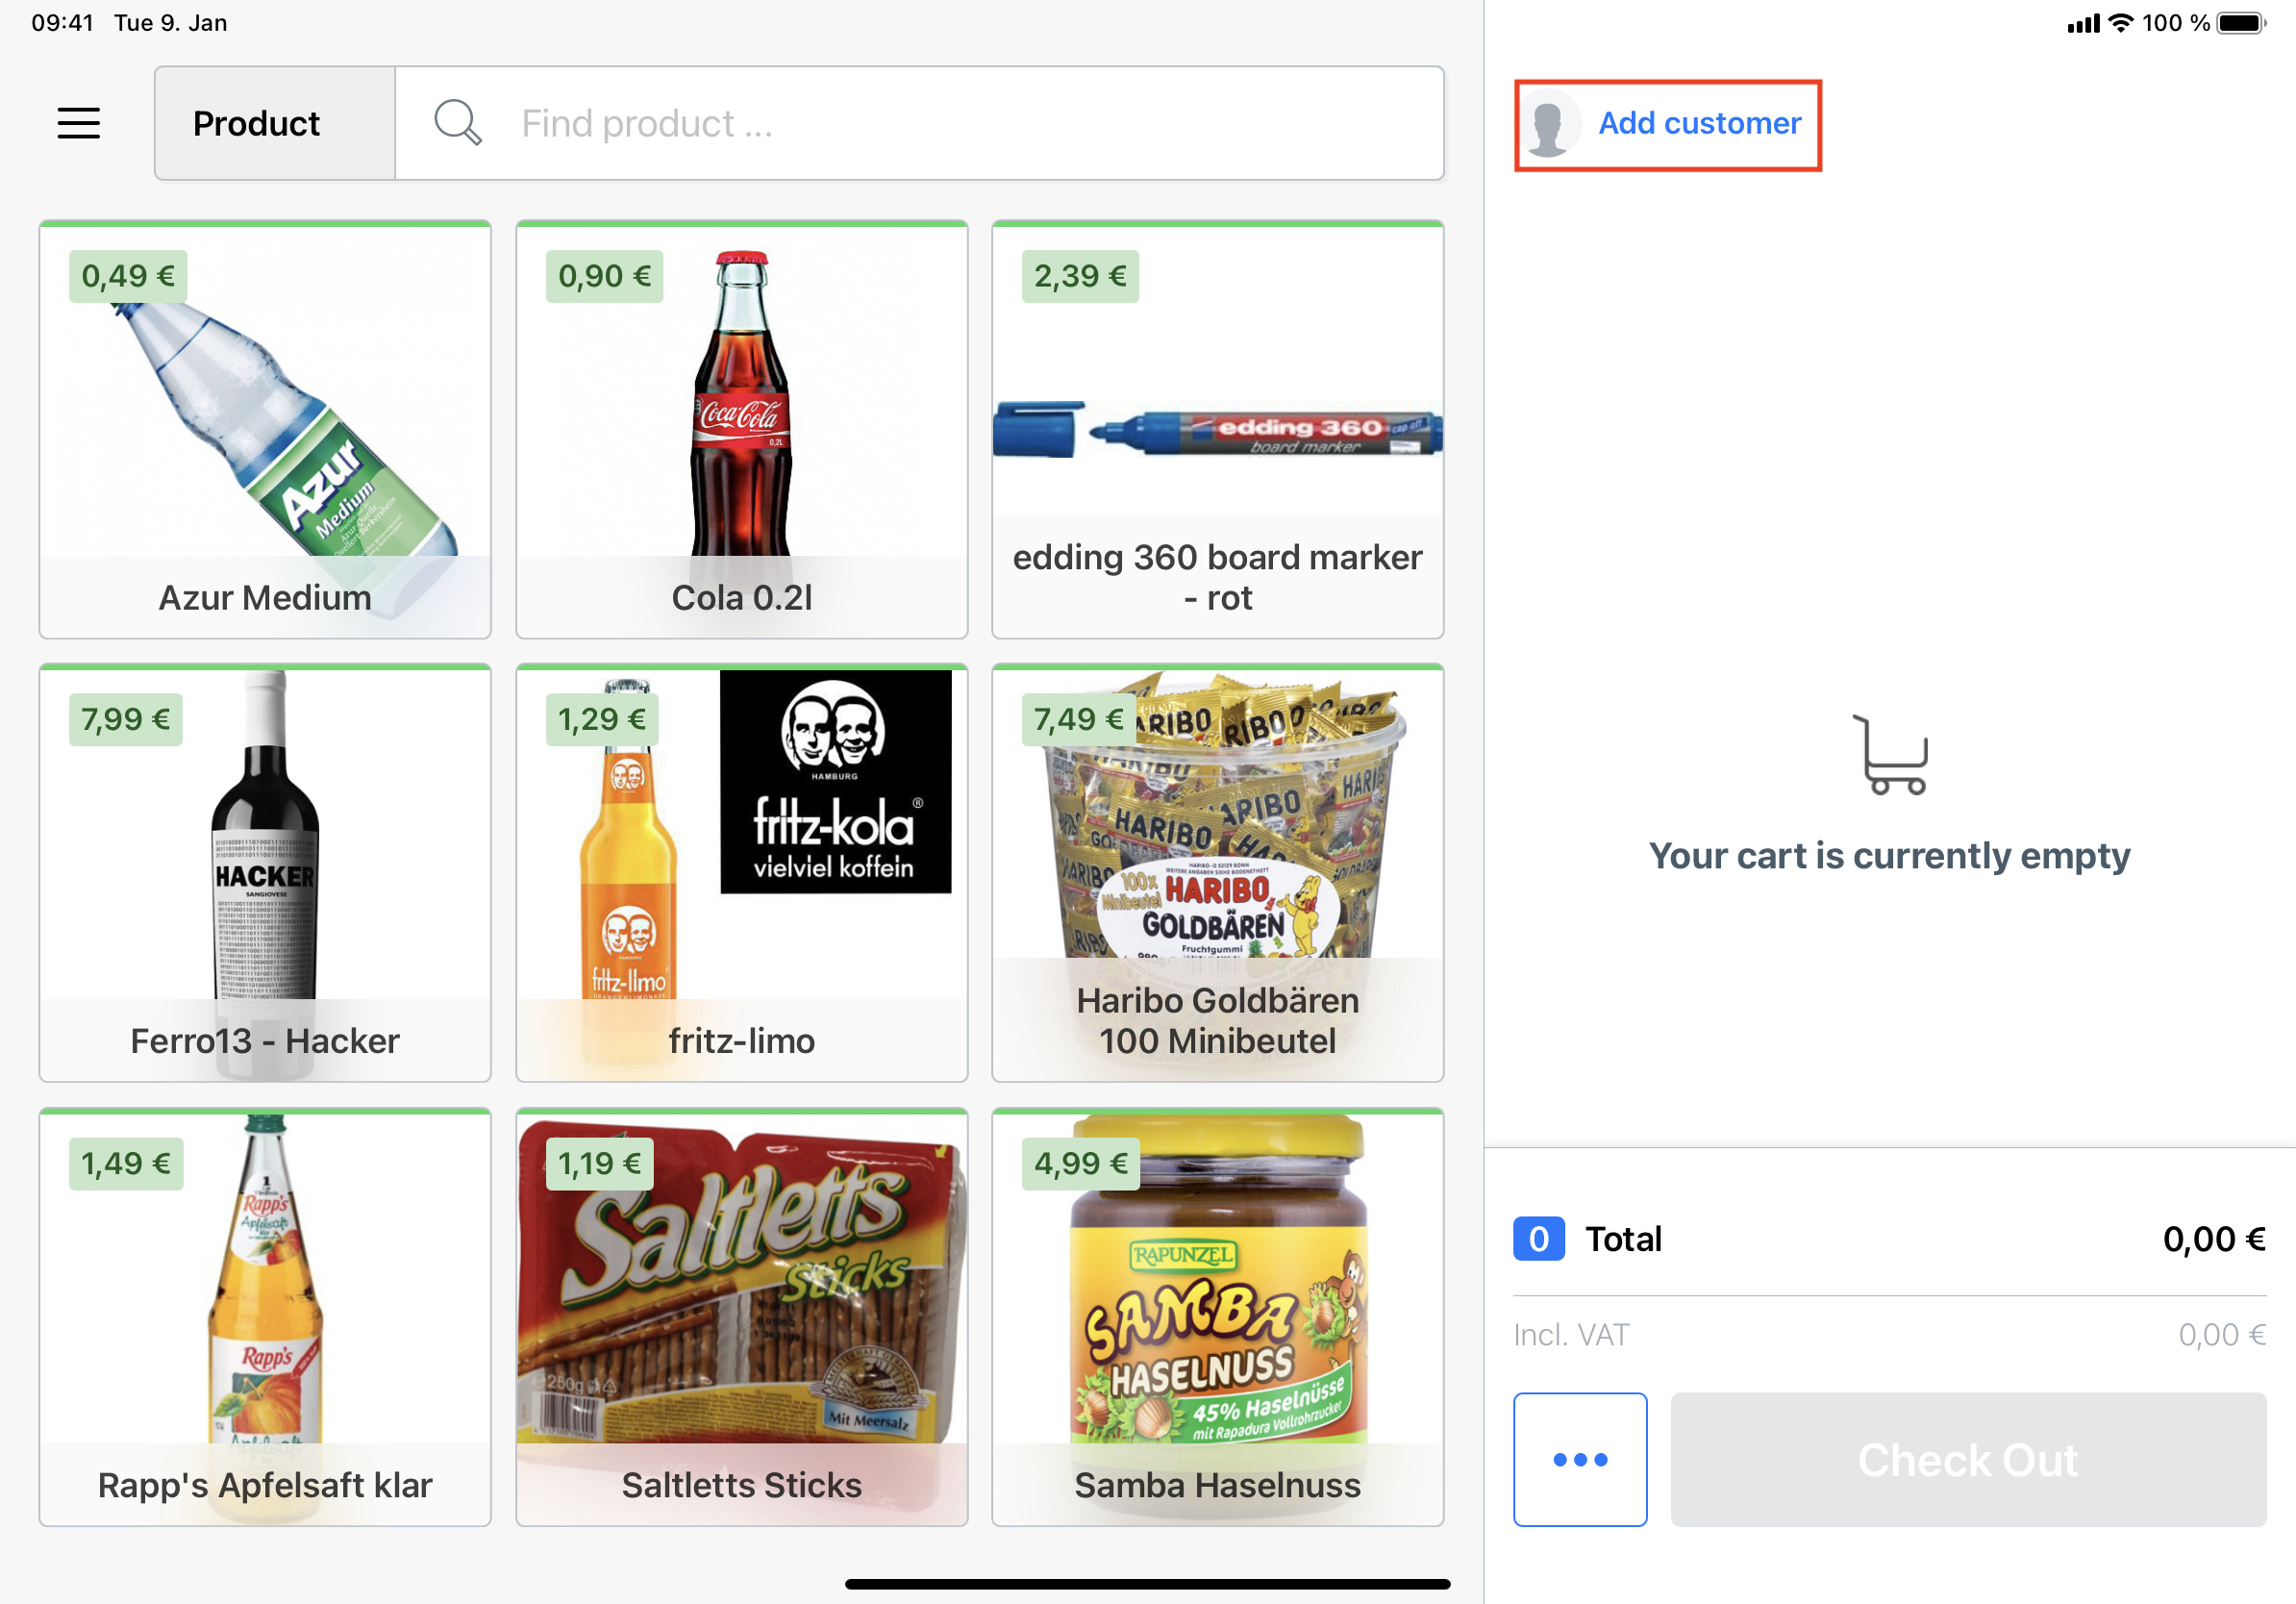
If your store customer has already made a purchase in your online shop or would like to open a customer account, you can select the corresponding customer at the checkout or create a new one. You can select customers before or during adding items to the shopping cart or even when you are already in the checkout view, as long as you have not yet selected a payment method.
Shopping with a customer account offers your customers the following advantages over anonymous shopping:
- Consideration of the customer group and the possibly different prices
- Support of the Shopware bonus points system
- Clear identification of a customer's offline and online orders possible
- Orders can alternatively be sent to the customer by post if the customer does not wish to take the order directly with them

To select a customer, go to Add customer and then search for the customer's name or select Create new customer to create a new customer account. In this case, a window will open where you can enter the customer's details. If you wish, you can also register the customer here directly for the newsletter and/or mark them for customer card printing. Note that all mandatory fields for creating a customer account in the online store must also be filled out so that the customer account can be created in Shopware without any problems. Finish the process by clicking on Create. By using the Forgotten password option, the customer can enter the desired password for their account at a later time and log in directly to your online store.
- checkout.customer.register (Welcome email)
- customer.recovery.request (E-mail for setting the password)
- newsletter.register (when the subscription to the newsletter has been activated)
Add item(s) to shopping cart
There are three ways to add an item to the shopping cart:
- Scan the barcode of the item.
- Enter a search term in the top left-hand corner and select an item from the list of search results, for example if the barcode has been damaged or is missing completely.
- Select an item using the quick buttons on the left-hand side of the sales screen. The nine best-selling items in your shop are displayed here.
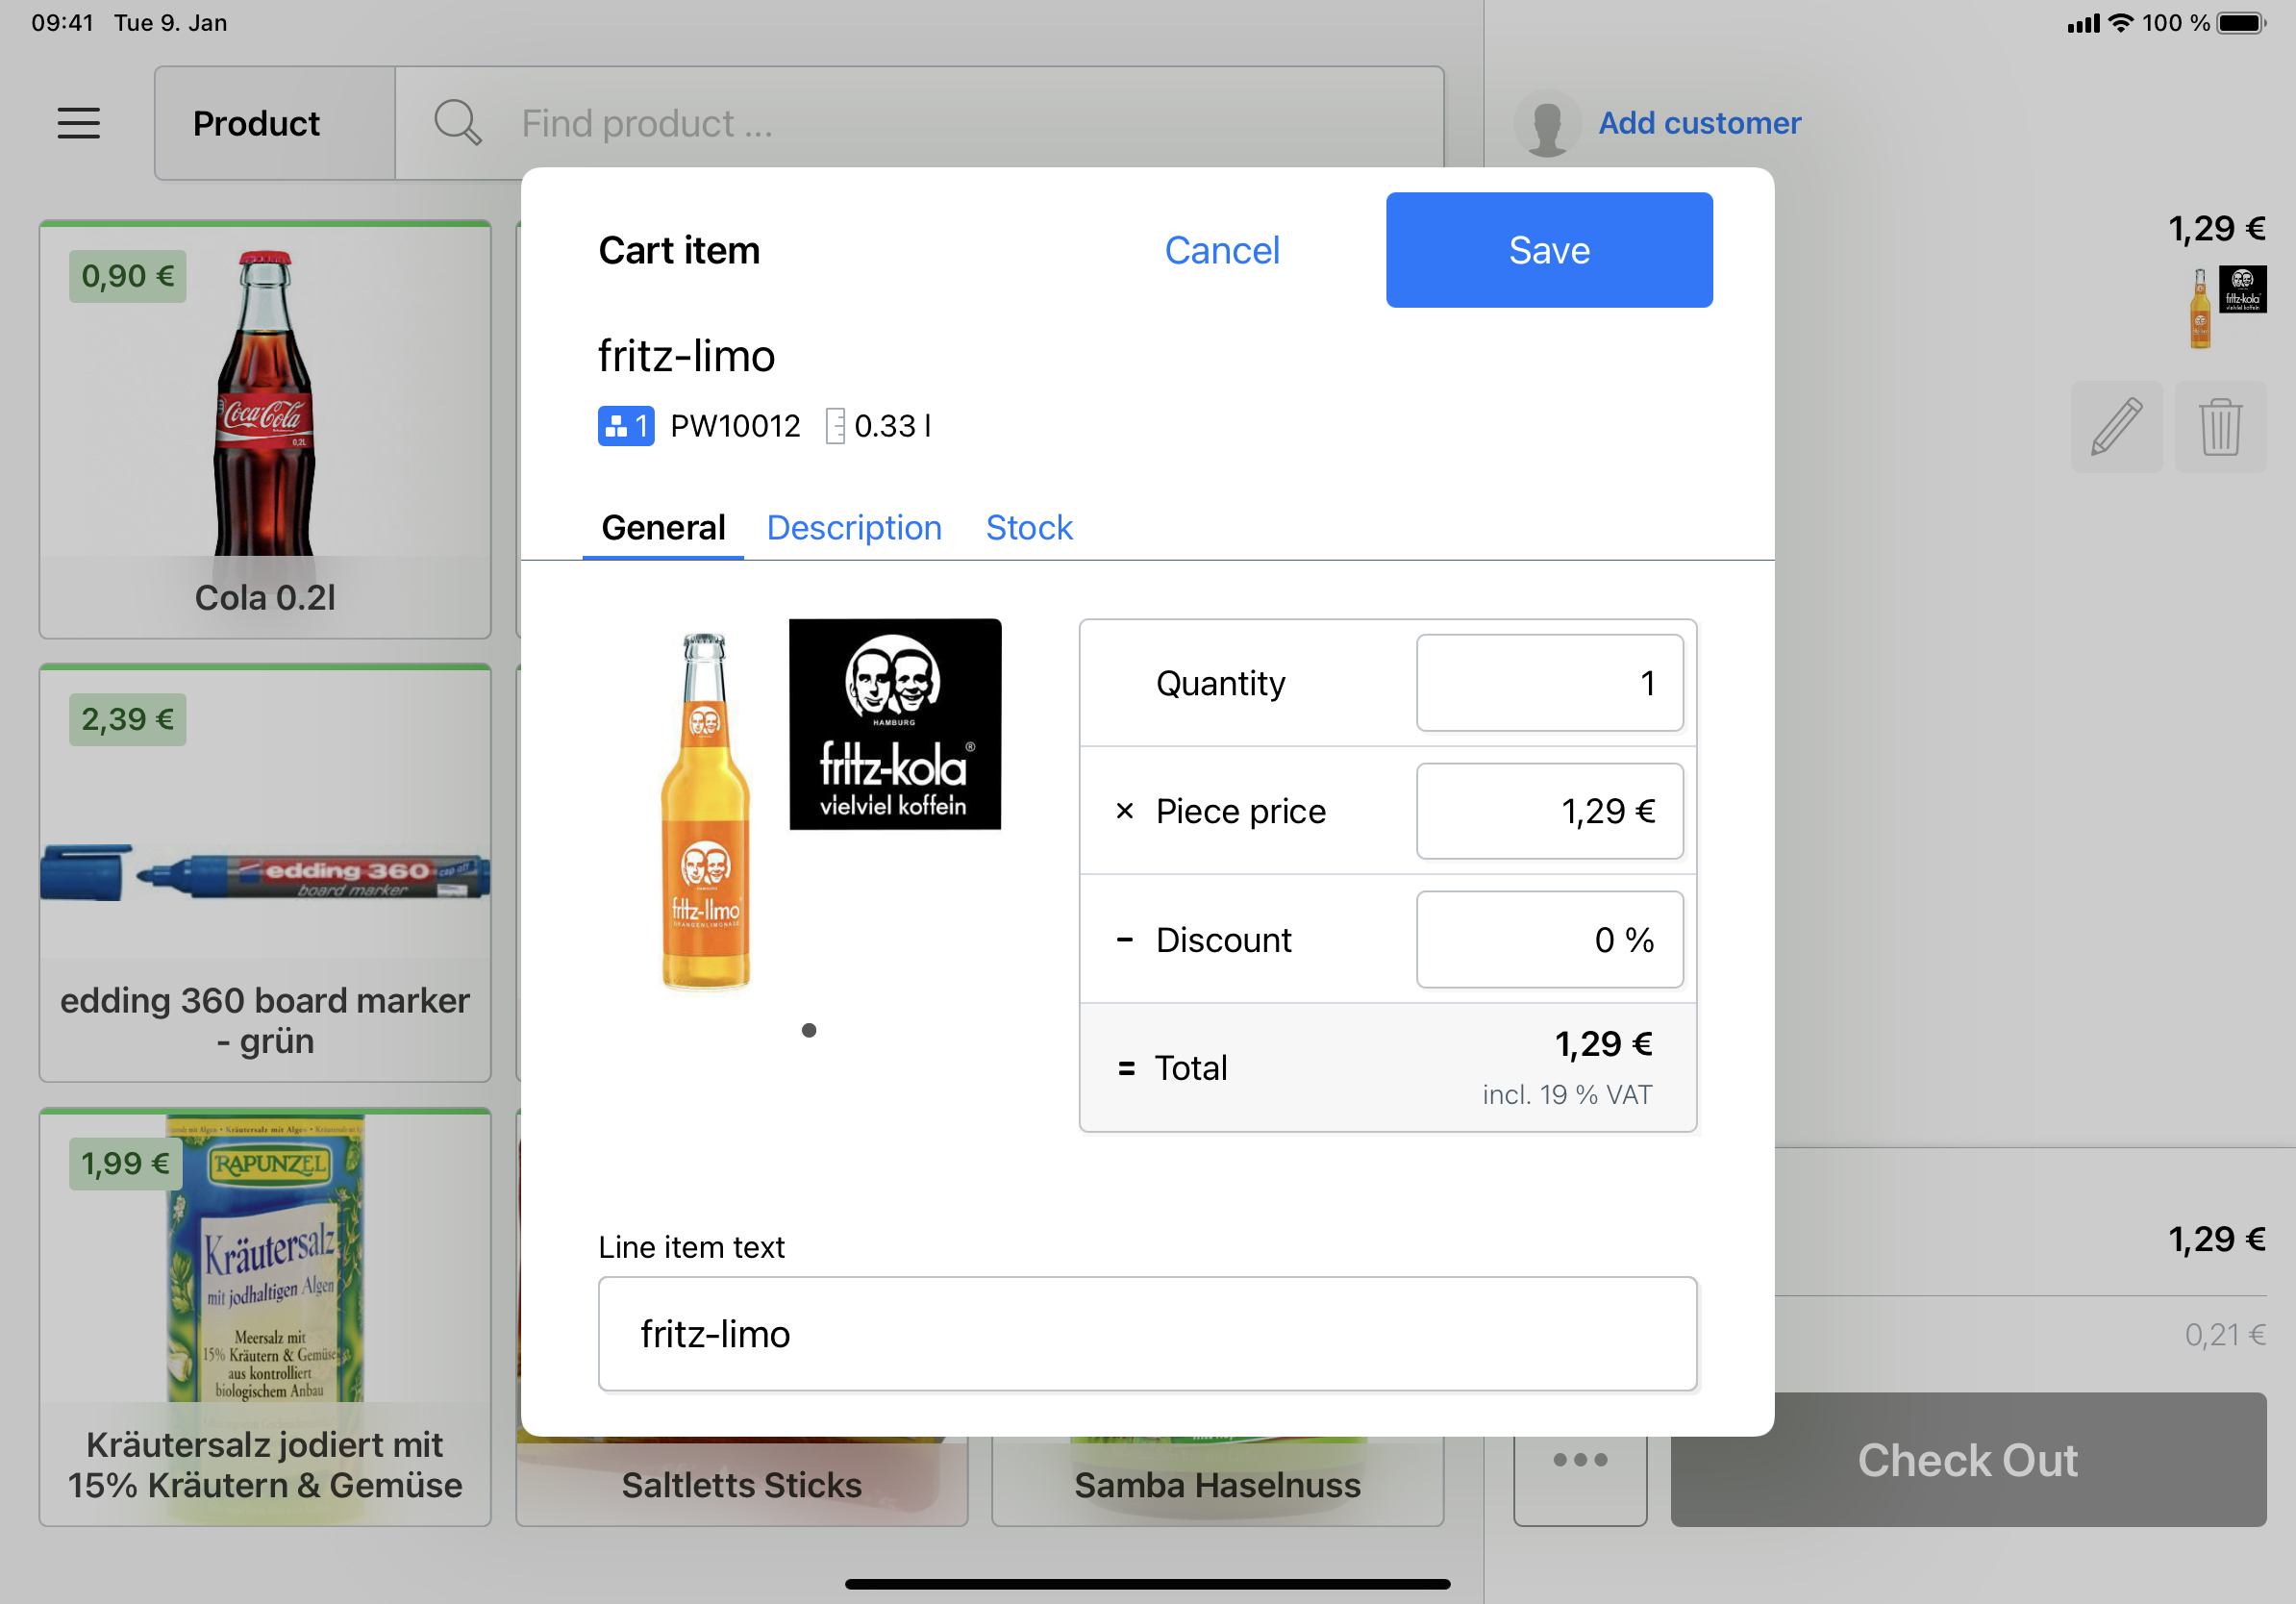
To view more information about the item in the sales conversation with the customer or to check the availability of the item in your other warehouses, tap the pencil icon next to the item in the shopping cart.
Remove item(s) from shopping cart
To remove an item from the shopping cart, tap the bin symbol next to the item in question.
Manual item(s)
To add an additional item that is not linked to an article in your store and therefore does not cause an inventory change, open the shopping cart menu and select Manual item. A window will open where you can enter name, quantity and price per unit. You can also choose between the VAT rates available in your store. The manual item will only be added to the shopping cart and recorded on the receipt, but not permanently created in your store.
Apply item discount and adjust price
Tap the pencil icon next to an item in the shopping cart to apply a percentage discount or alternatively adjust the price directly. The changed price is only valid for this purchase transaction and will not be saved permanently in the system.

Redeem coupons
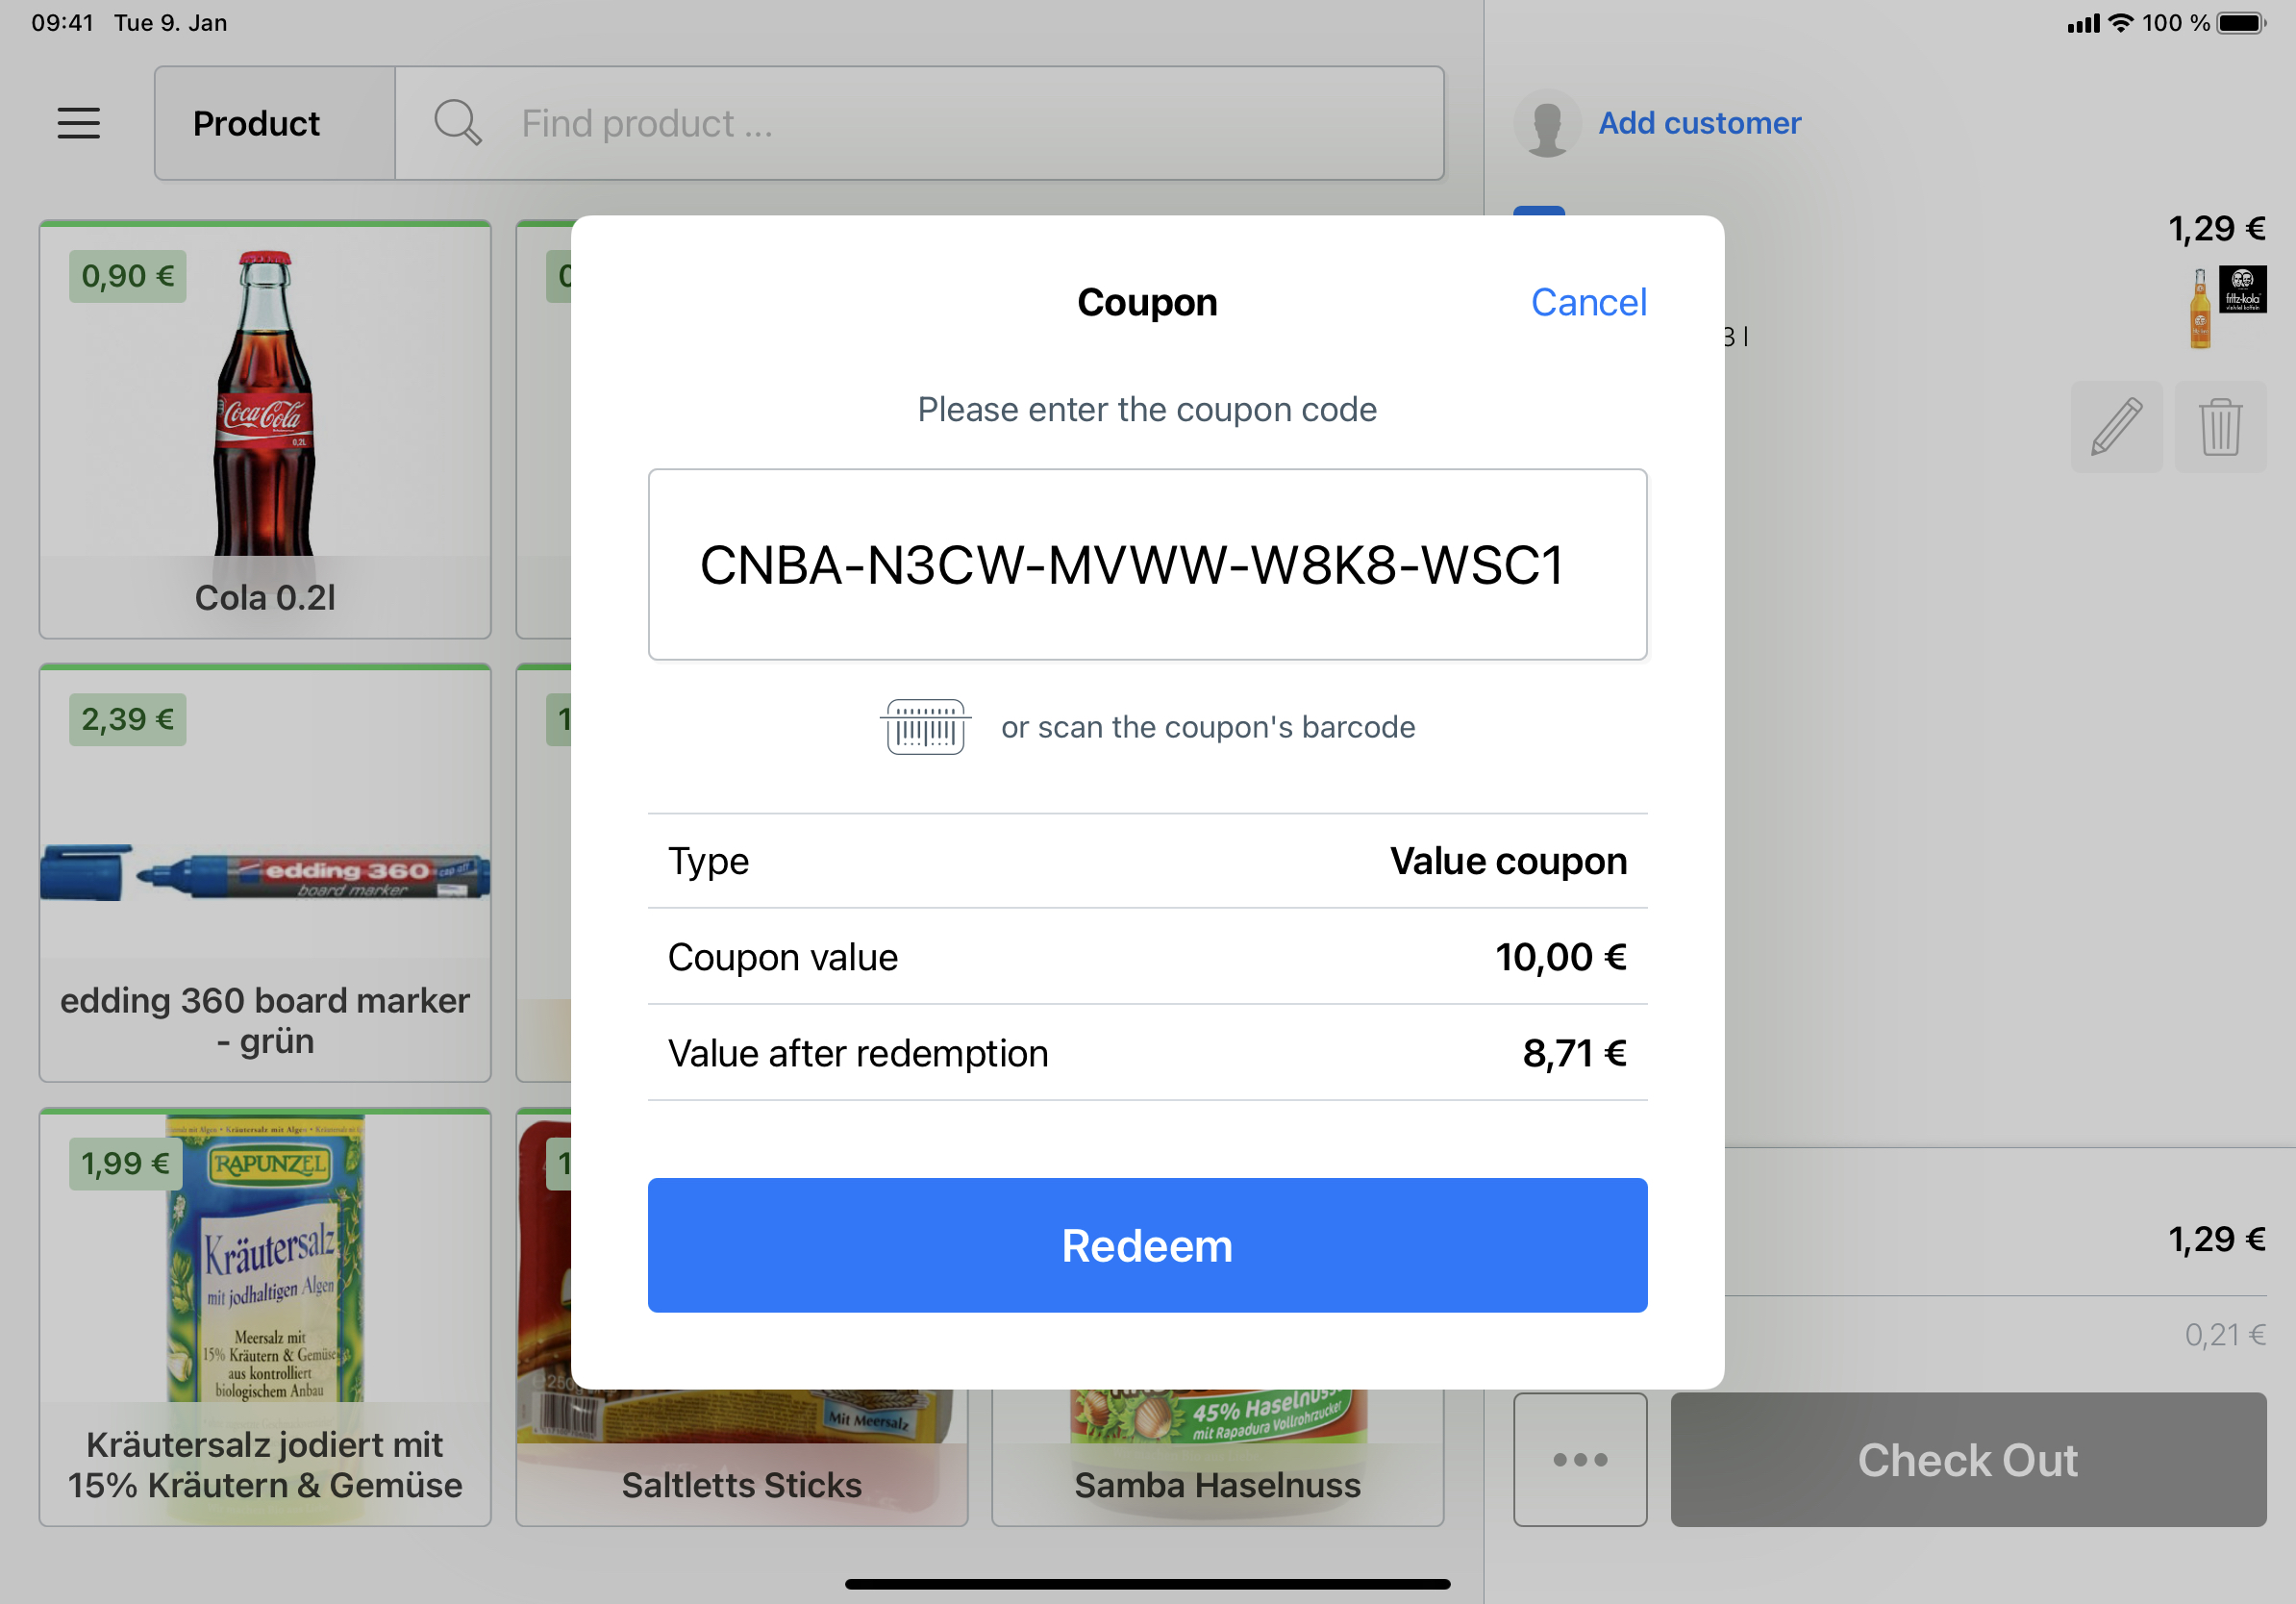
To redeem a coupon, open the shopping cart menu and select Coupon. A window will open where you can enter the code manually or scan it. If you enter the code manually, make sure you also enter the hyphen. You can redeem as many coupons as you like per purchase until the remaining value of the shopping basket reaches 0,- €.

Sell individual gift vouchers
In case you have installed the plugin Gift Vouchers powered by Pickware in your shop, you can also easily sell individual gift vouchers in your shops. Simply search for the desired gift voucher item and add it to the shopping cart. Once payment has been completed, the desired gift voucher will be generated automatically. This can either be sent by e-mail or printed directly if (additionally) an A4 printer has been set up.
Select different shipping method (optional)
In certain cases, it may happen that your customers cannot or do not want to take the goods directly with them. In the following, we look at some of these possible scenarios and show how they can be handled with Pickware POS.
Customer pays directly and the goods are then shipped to the customer
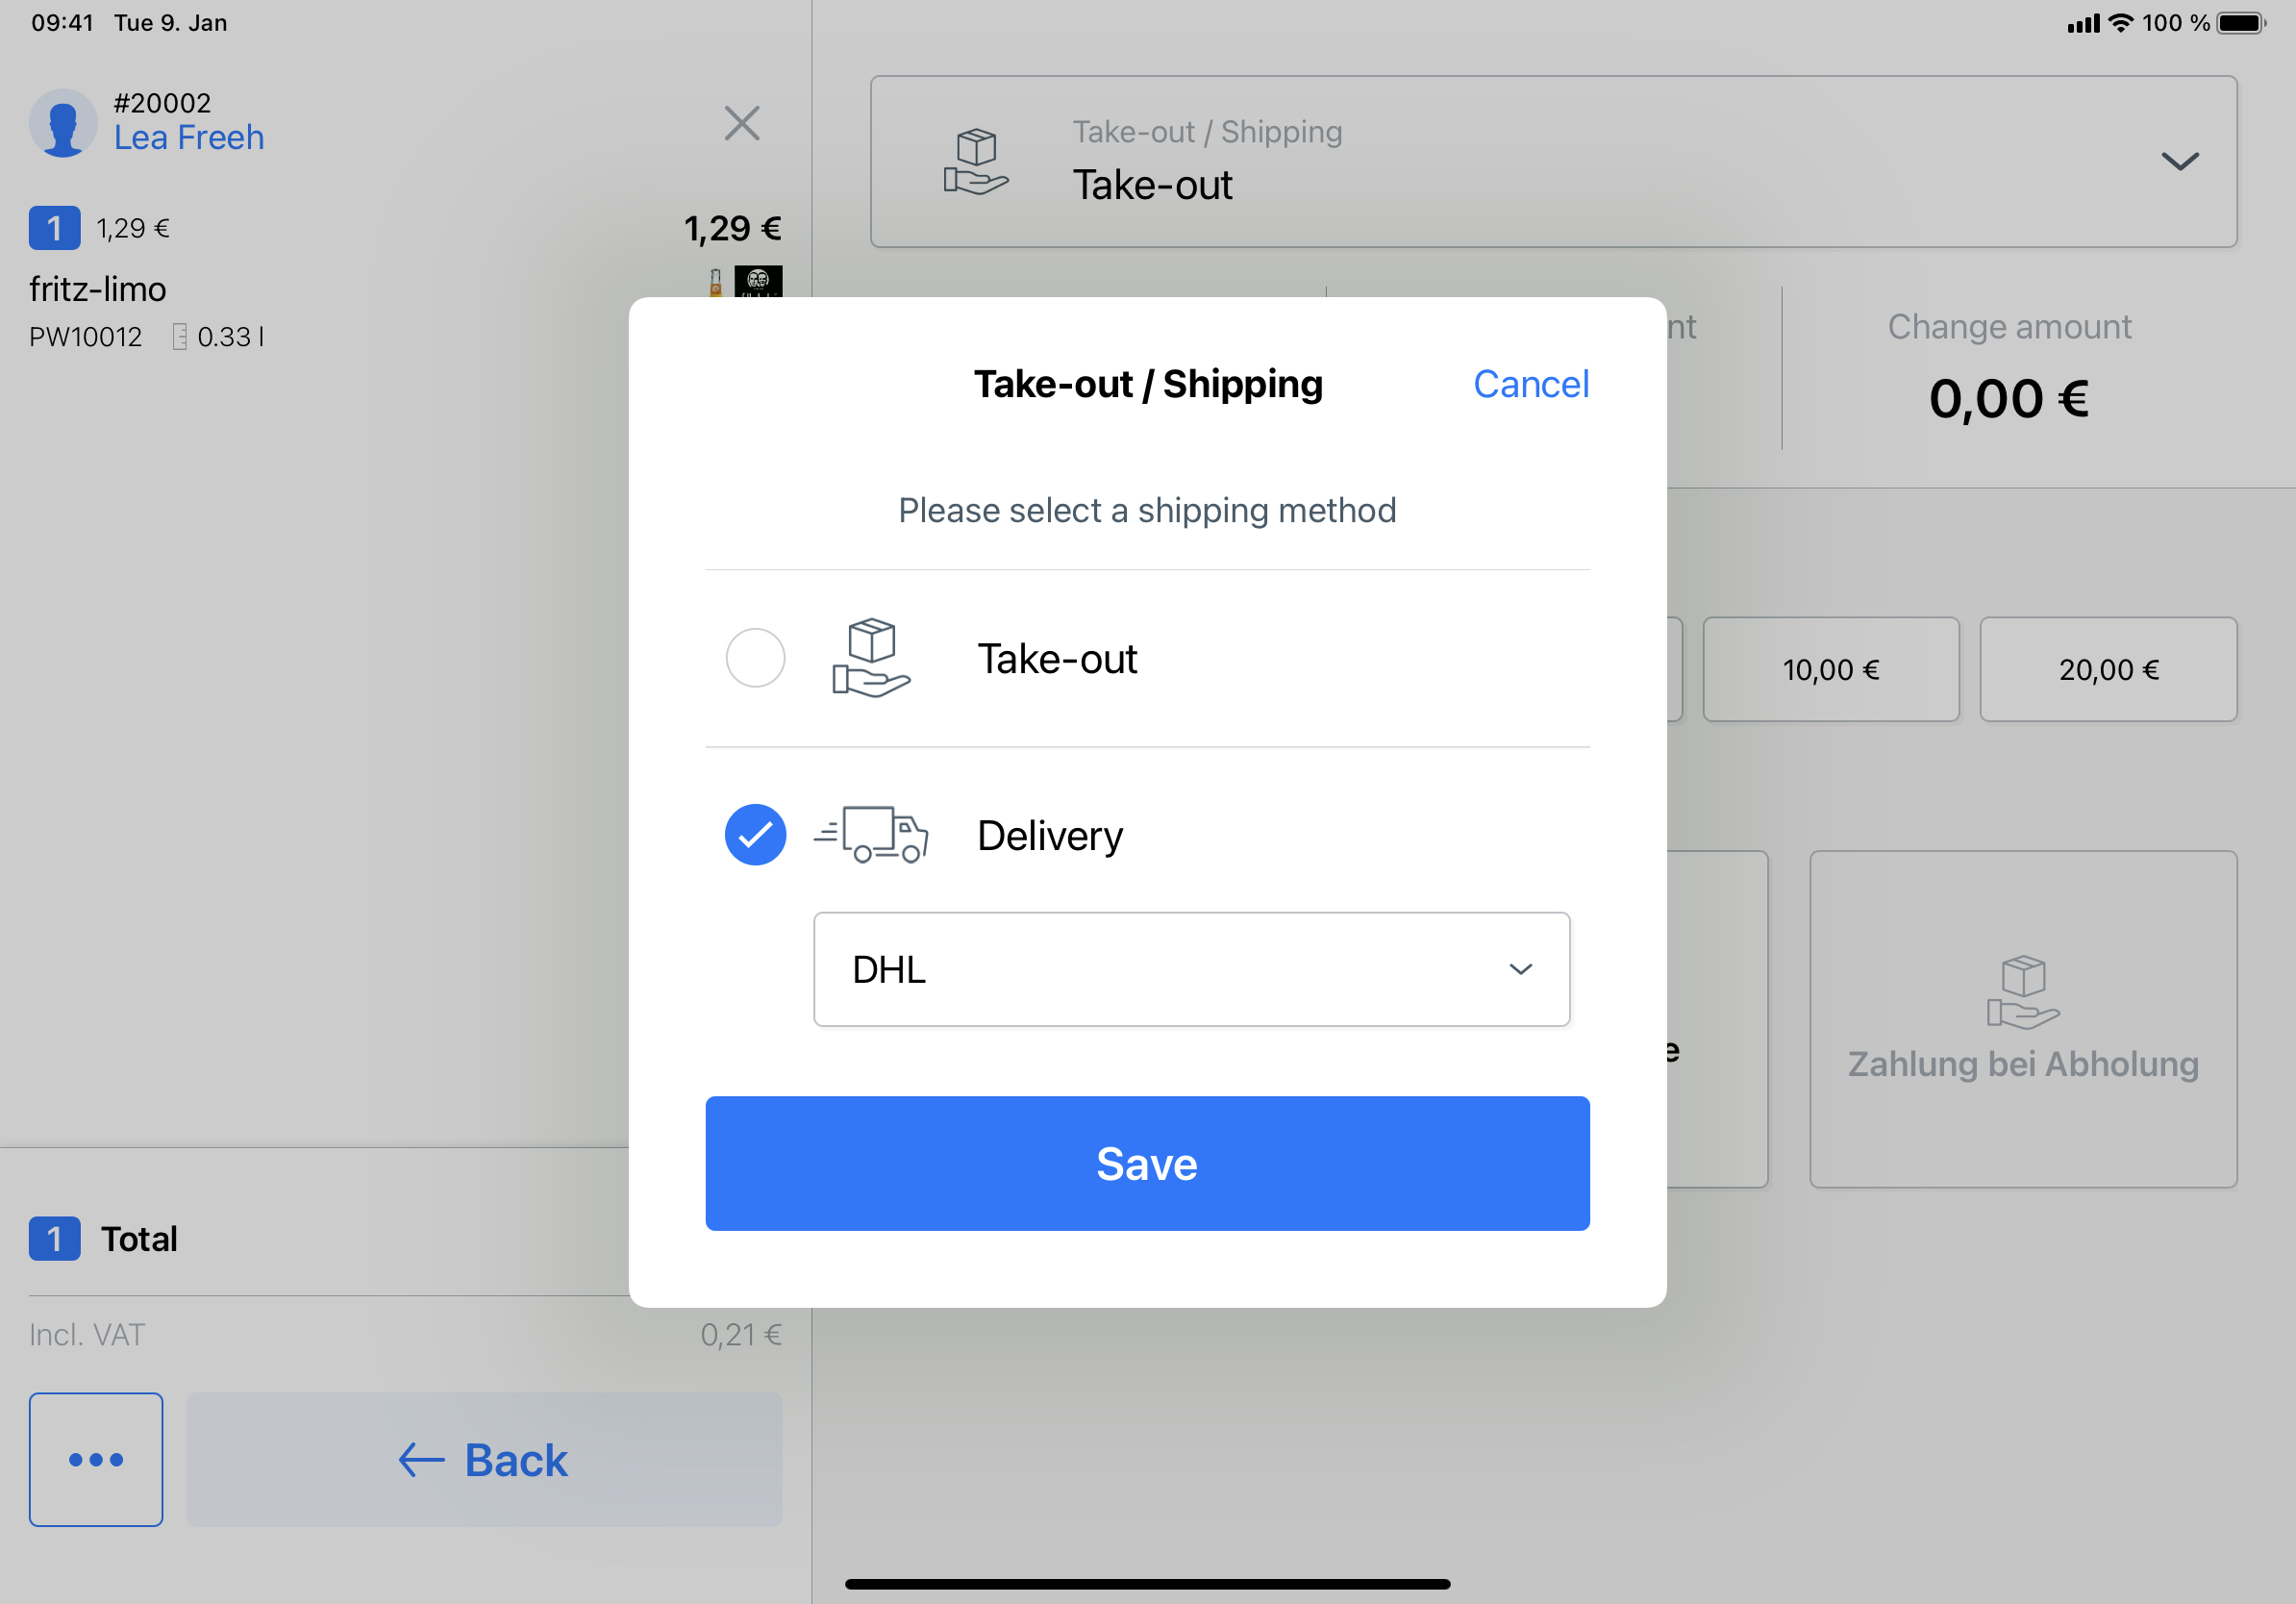
If your customer pays for the goods directly, but instead of taking them with them, wants them to be shipped at a later date, you can select Delivery in the Take-out / Shipping field at the top and then select one of your available shipping methods.
The order is then created in your shop with the order status Open and payment status Completely Paid resp. Paid, taking into account the selected shipping method, and can then be picked and shipped like any normal order in your online shop.
Customer pays directly and collects the goods later.
If your customer wants to pay for the goods directly and collect them at a later date, you can select one of the shipping methods for collection and otherwise complete the payment as usual. For more information see this article about Click & Collect.
Pre-order / reservation - payment & collection at a later time
If your customer wants to temporarily reserve certain items in order to pick them up and pay for them at a later time, select the shipping and payment methods for Click & Collect (in Shopware 5: the POS placeholder payment method for Click & Collect defined in the plug-in configuration). The order is then created in the shop with the order and payment status Open. The goods are then handed over and payment is made at the time of collection. You can find more information about Click & Collect here.
Payment and invoicing
To complete the purchase at the POS, go to the shopping cart and click on Check Out.
Select shipping method
Choose between Take-Out or Delivery. Please note that a customer account is required for delivery. You can create a new account or select an existing one at the top left. In the drop-down menu under Delivery, you can select from your existing shipping methods in the shop.

Select payment method
Now select a payment method. You can choose from all payment methods that have been created for the POS and defined correctly in the plugin configuration resp. the sales channel settings.
Cash
Quick buttons and a change calculator are available for cash payments.
Debit/Credit Card
When your customer pays by debit or credit card using iZettle, follow the instructions on the iPad / iPod. If they make the card payment without iZettle using an external card reader, the payment amount is automatically transferred.
Pay on collect
In order to select this payment method, a customer account and the Click & Collect shipping method has to be selected. With this payment method, an order with the status Open is created in the backend, but no cash book entry is written yet. This article explains how to further proceed with orders for collection.
Bill
If your customer wants to buy the goods on account, this is also possible via the POS. Simply select Bill as the payment method. It is advisable to also use the function Change receipt format. You can find more about payment receipts in the next chapter. When paying on account, no cash book entry is written, as the payment is made later, separate from the handing over of the goods.
Payment receipts
Once the payment process is complete, the receipt is printed. You can then print the receipt again, generate and print an invoice document for the purchase or print any gift vouchers purchased. Finally, you can send all generated documents to the customer by e-mail. This is also possible without selecting a customer beforehand, as the address can be entered manually in this case. However, if you have previously selected a customer account, the corresponding e-mail address will appear automatically.
Press Done to complete the process and return to the sales screen where you can start the next checkout process.