When you open the Pickware POS app for the first time, you can either start the configuration via Start setup or start the demo mode. This configures your device so that you are automatically connected to our demo shop, where you can test all functions for as long as you like. To connect your device to your actual shop, tap Start setup. The setup wizard will guide you through all the necessary steps.
Login / Create Pickware account
To use the app, you need a user account. The next steps depend on which system you use:
If you want to create an account for Pickware in Shopware 6, please read this article. If you have already completed the setup steps mentioned there, you can log in directly with your account and continue the setup here.
If you are using Pickware Cloud, you can find all necessary information in our Cloud Helpcenter.
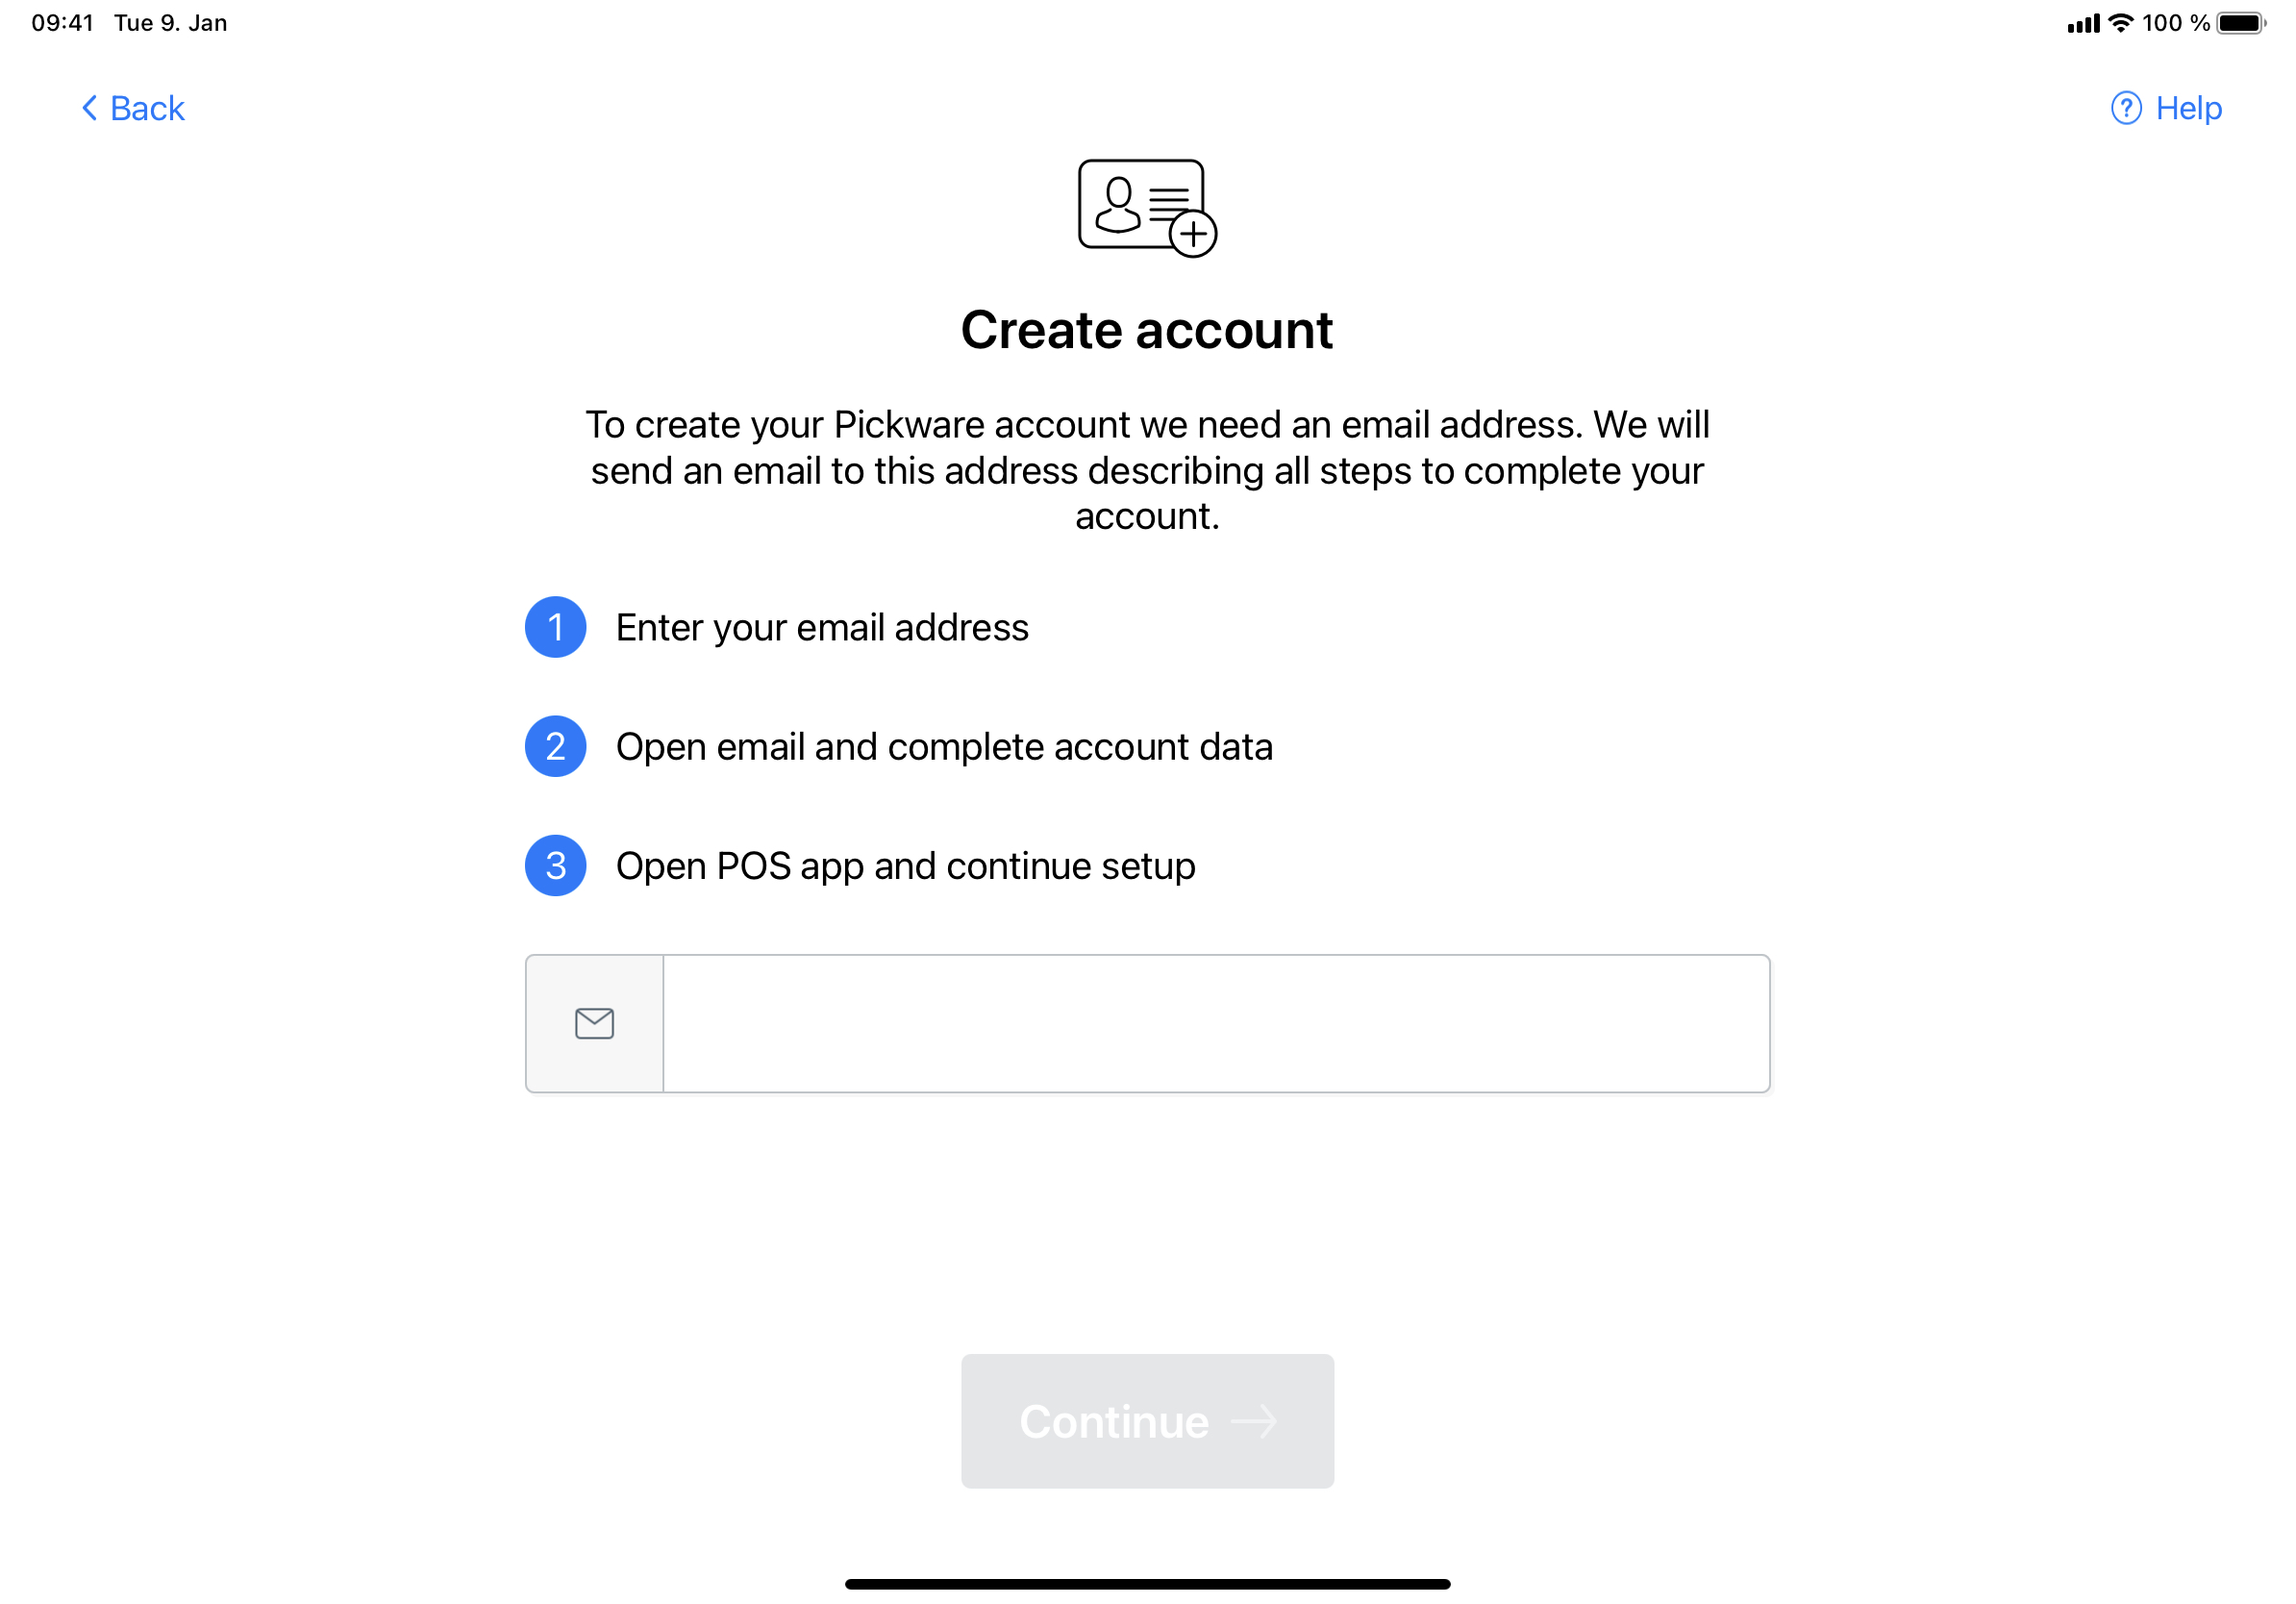
When using Pickware in Shopware 5 you can create your Pickware account directly in the app. Follow these steps:
- Click on Create account and select Shopware 5 in the next window.
- Enter the URL of your shop and activate your device in the Backend under Configuration → Device Management. If the device management is not visible in the backend, follow the steps described here.
- After your device has been activated, click Continue.
- Then log in with your backend user and enter your email address in the following window.

- You will now receive an email from us. To confirm your address and set up your account, click on Confirm email address. You will now be directed to the Pickware Business Platform, where you can set your password and enter your company details. Then return to the app and log in with the account you have just created.
If you wish to change your email address at a later point, you can do so at any time by logging in to https://account.pickware.de/login again and setting the new address there.
Select store and subshop/sales channel
In the next step you can select the branch for which you want to register your cash register and your iPad. If available, select an existing branch from the list or create a new one. If your branch is not located in Germany, you only need to enter a name and the country. If the branch is in Germany, it is subject to the KassenSichV and further information is required.
After you have entered all the necessary data, click on Continue and select the appropriate Shopware subshop/sales channel in the next window. If you have not yet created any, you can also create a new one at this point. You can also select the shipping and payment methods to be used.
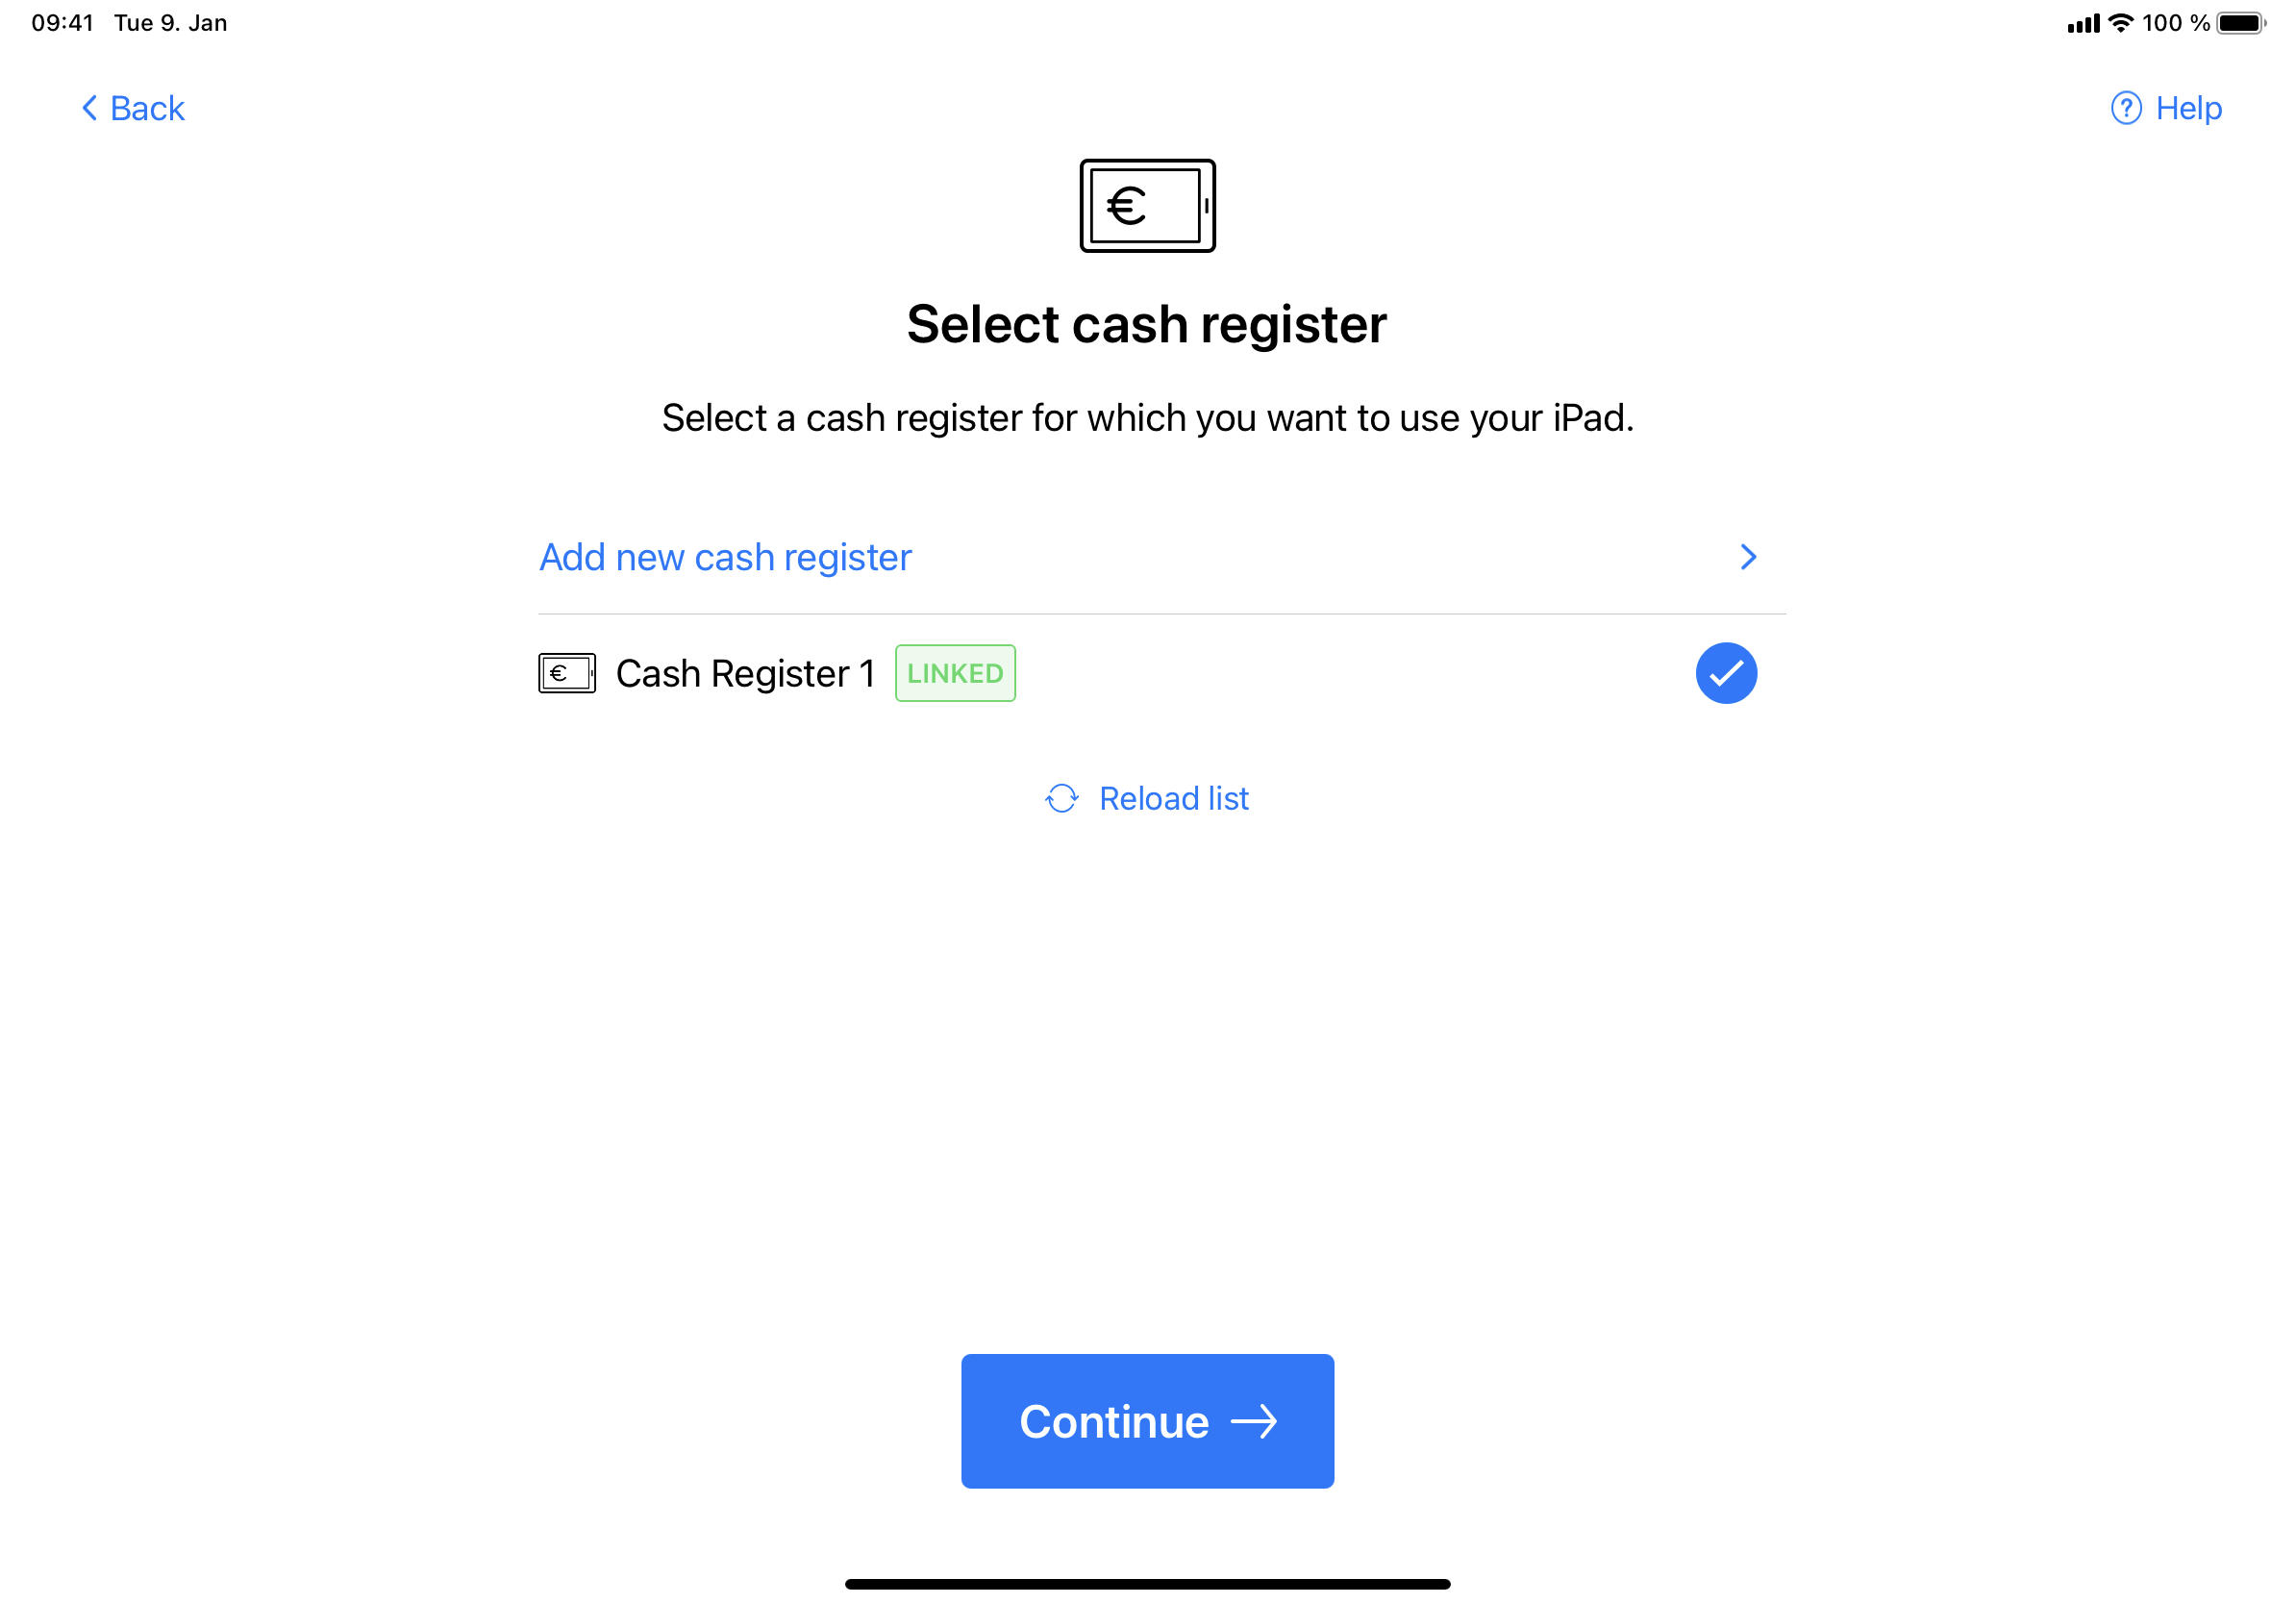
Select cash register
In the next step, select the cash register with which you want to link your iPad. You can select an existing entry from the list or create a new cash register. If a cash register is already linked to another device, a corresponding note will appear, which you have to confirm before the assignment is changed.

You can then select the desired warehouse from which the stocks for all sales are to be deducted. If you want to change this later, you can do this via Settings in the app menu.
Set up hardware
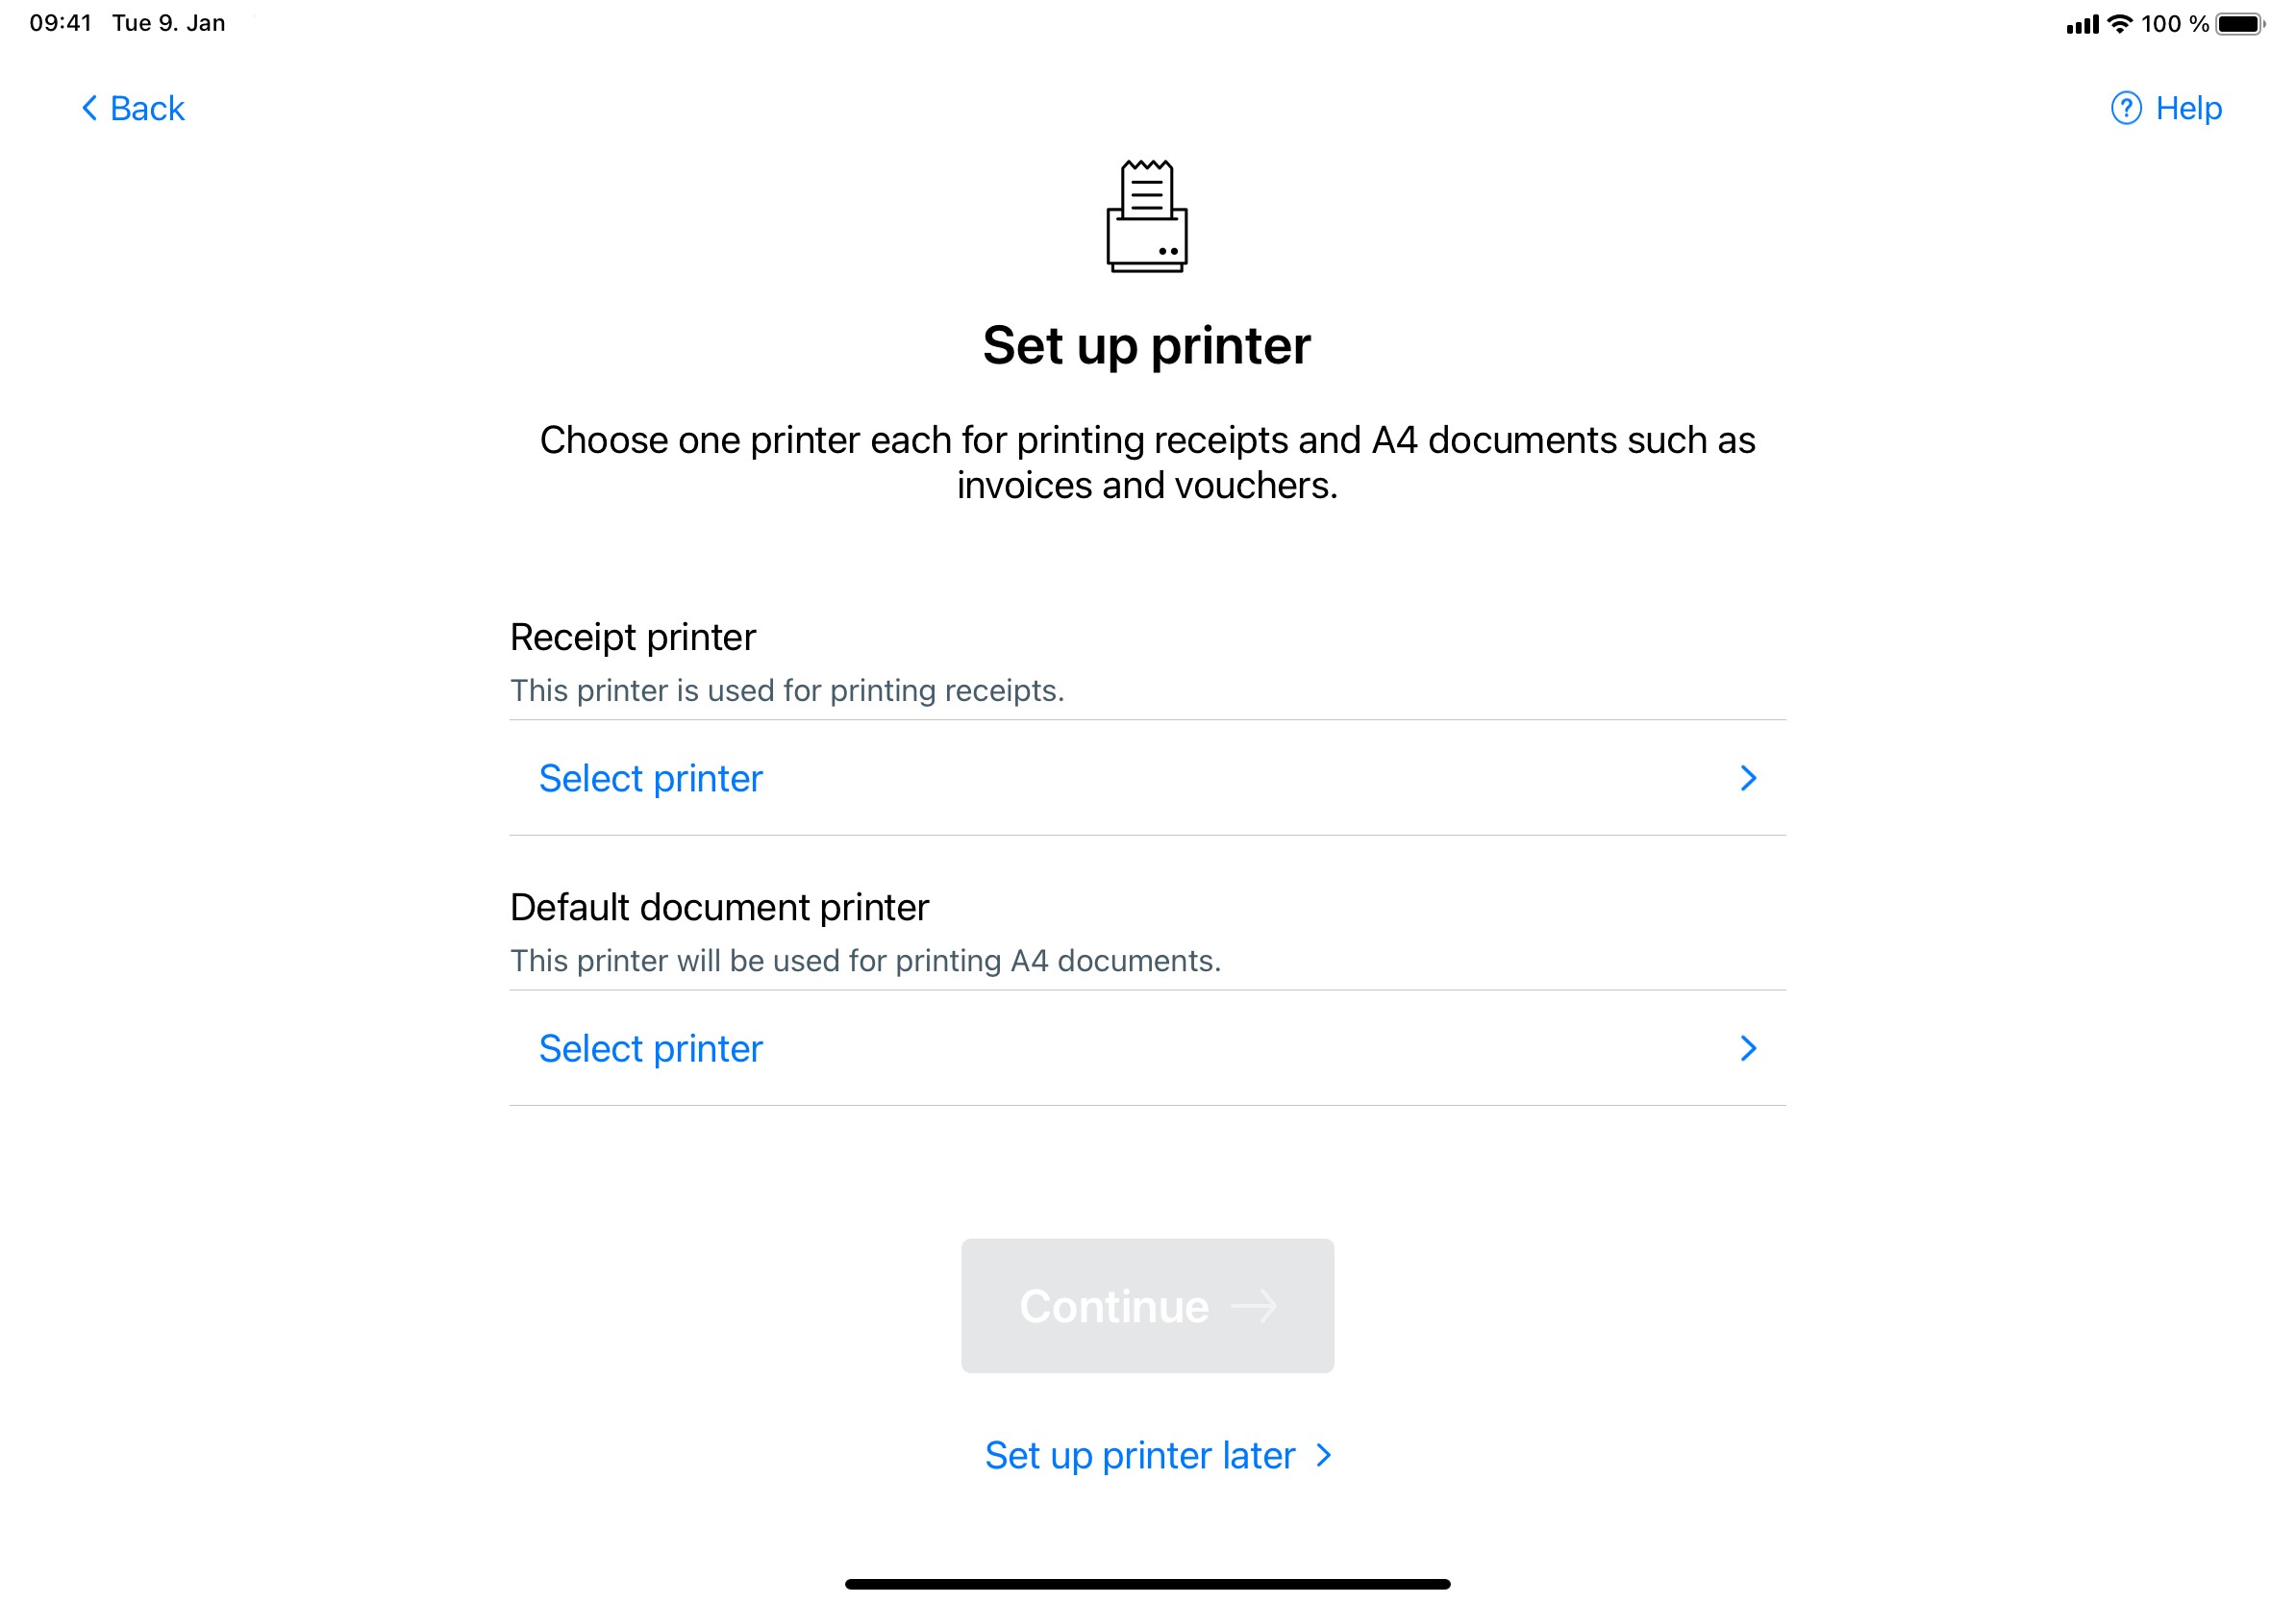
In the following windows you can now connect a receipt or document printer and a card reader to your cash register. You can also skip the hardware setup at first and complete it at a later time via the Settings entry in the app menu. There you can also adjust the device settings if necessary.

Receipt printer
To add a receipt printer, it must first be connected to the iPad via Bluetooth. Then tap Select Printer in the Receipt Printer section to display all available devices in the proximity and select the desired device. Finally, you can make a test print for your connected printer using the button below or continue without a test print.
Document printer
In the Default document printer area, tap Select printer. All printers available in your network are now listed and you can select the desired printer. If the printer is not displayed, you can add it manually via Add document printer by entering its URL. You can find more help on setting up printers in this article.
Once you have selected a printer, you can make various settings, such as tray selection and paper size, according to your printer's options, and also perform a test print or proceed directly.
Payment terminal
In the next step, you can connect a payment terminal. To do this, the POS app needs access to your local network. For this, open the iOS settings and then activate the check mark for Local network in the Allow POS to access section for the POS app. If you have already connected a Zettle by Paypal card reader to your app, it will be directly available for selection. Otherwise, tap Add payment terminal and select whether you want to connect a Zettle by Paypal device or ZVT device and follow the respective steps.
If you add a ZVT device, you have the option to print your card payment receipts via the receipt printer by selecting the option Receipts on receipt printer. If the option is deactivated, the receipts are printed via the card terminal instead.
For further instructions on how to set up Zettle by Paypal, please visit the provider's support page. Once your card reader is connected, tap Next to complete the profile setup.
User selection
To use the app, you have to log in with your Shopware user. In Shopware 6, an App PIN must be set in the administration and the role Pickware POS User must be assigned. For necessary settings in Shopware 5, see this article.
Start demo mode & reset configuration
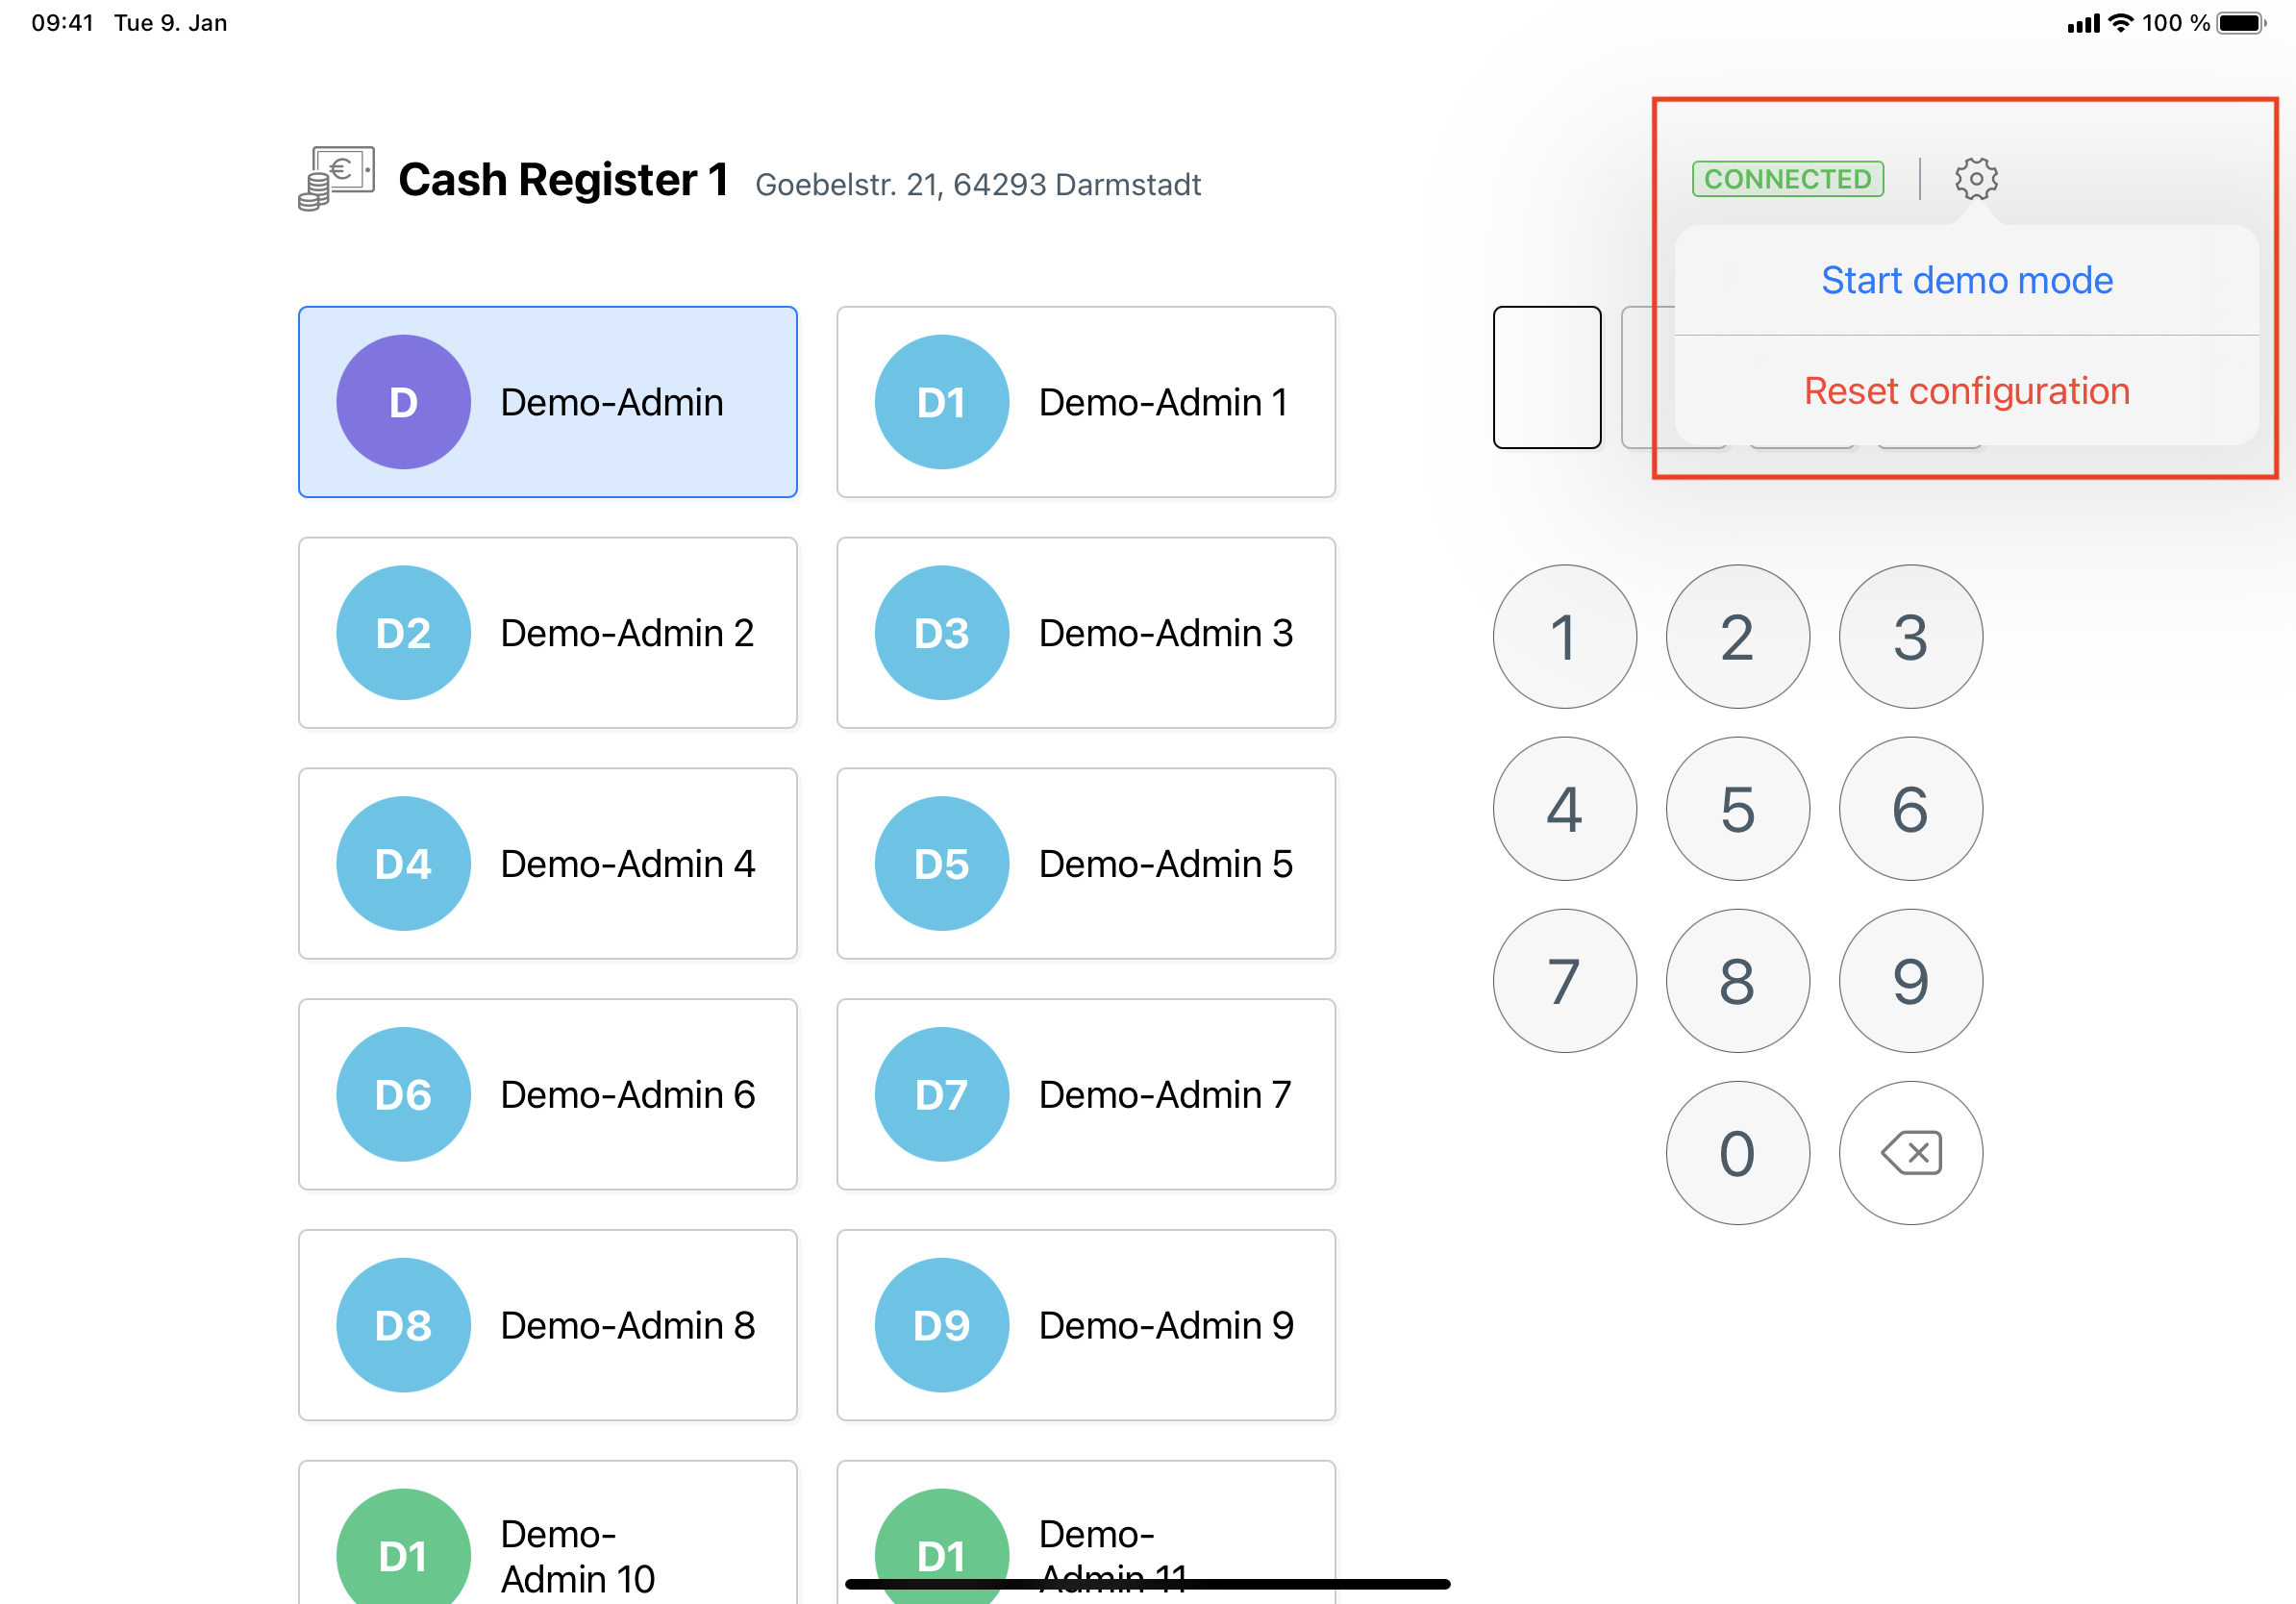
Your device can only be connected to one shop at a time. Therefore, if you want to connect it to another shop, you will have to reset the configuration. Demo mode is an exception, i.e. you can switch from your configured shop to demo mode and back again at any time without losing the configuration.
To reset the configuration or switch to demo mode, first log out of the app. To do this, open the menu at the top left and tap on this symbol:

You will now be taken to the user selection window, where you can reset the configuration or start demo mode using the button in the top right-hand corner.
