To start the return process, there are two options:
- If you want to return a specific sale, go to Sales history in the app menu and search for the corresponding transaction. Click on Return to select which items you want to return and then enter the Return Mode with the specified items already in your basket and the relevant customer account selected.
- Only in Pickware POS for Shopware 5: Alternatively, you can start the return mode from the sales view via the shopping cart menu using the corresponding menu item. The return mode can be started, regardless of whether the shopping basket is empty or already contains items. In the same way as for sales, you can also select a customer here.
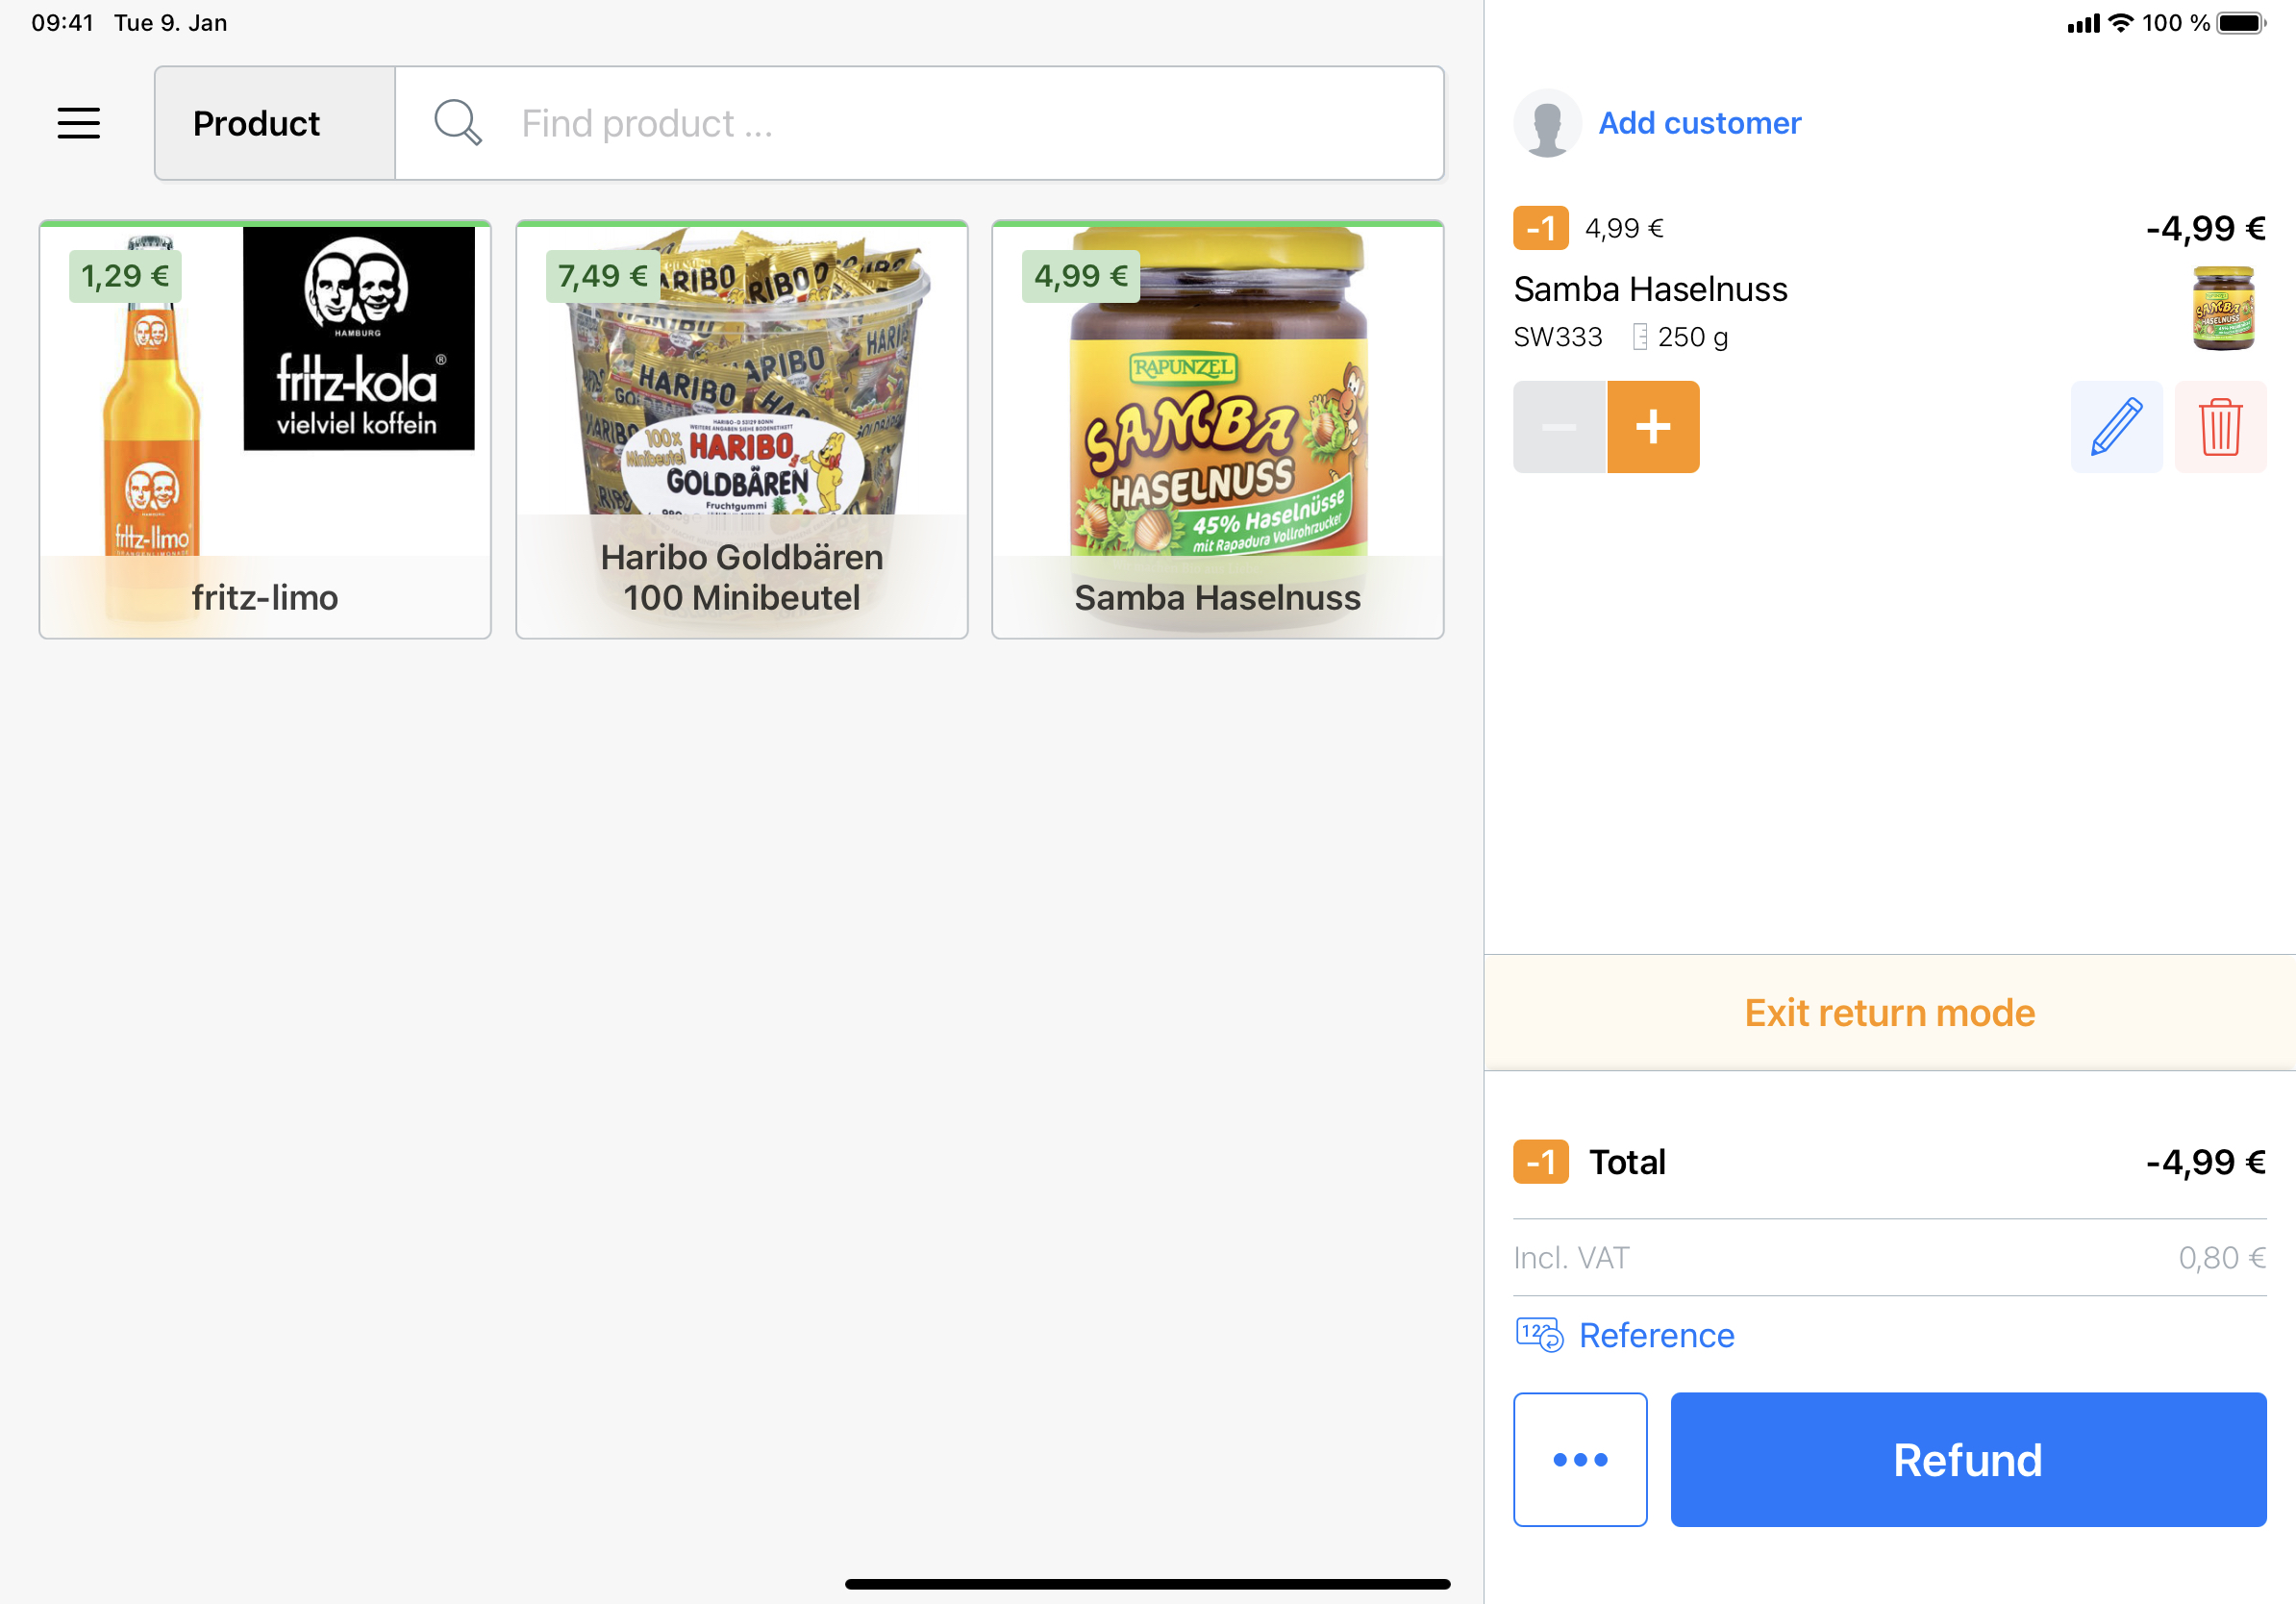
To cancel the process, click on Exit return mode. If you haven't already done so, add the items you want to return to the shopping cart. Tap Reference to add, for example, you can add the invoice number of the original transaction. If you started the process via the Sales history, this field is already filled in. Press Return to proceed to the next step.

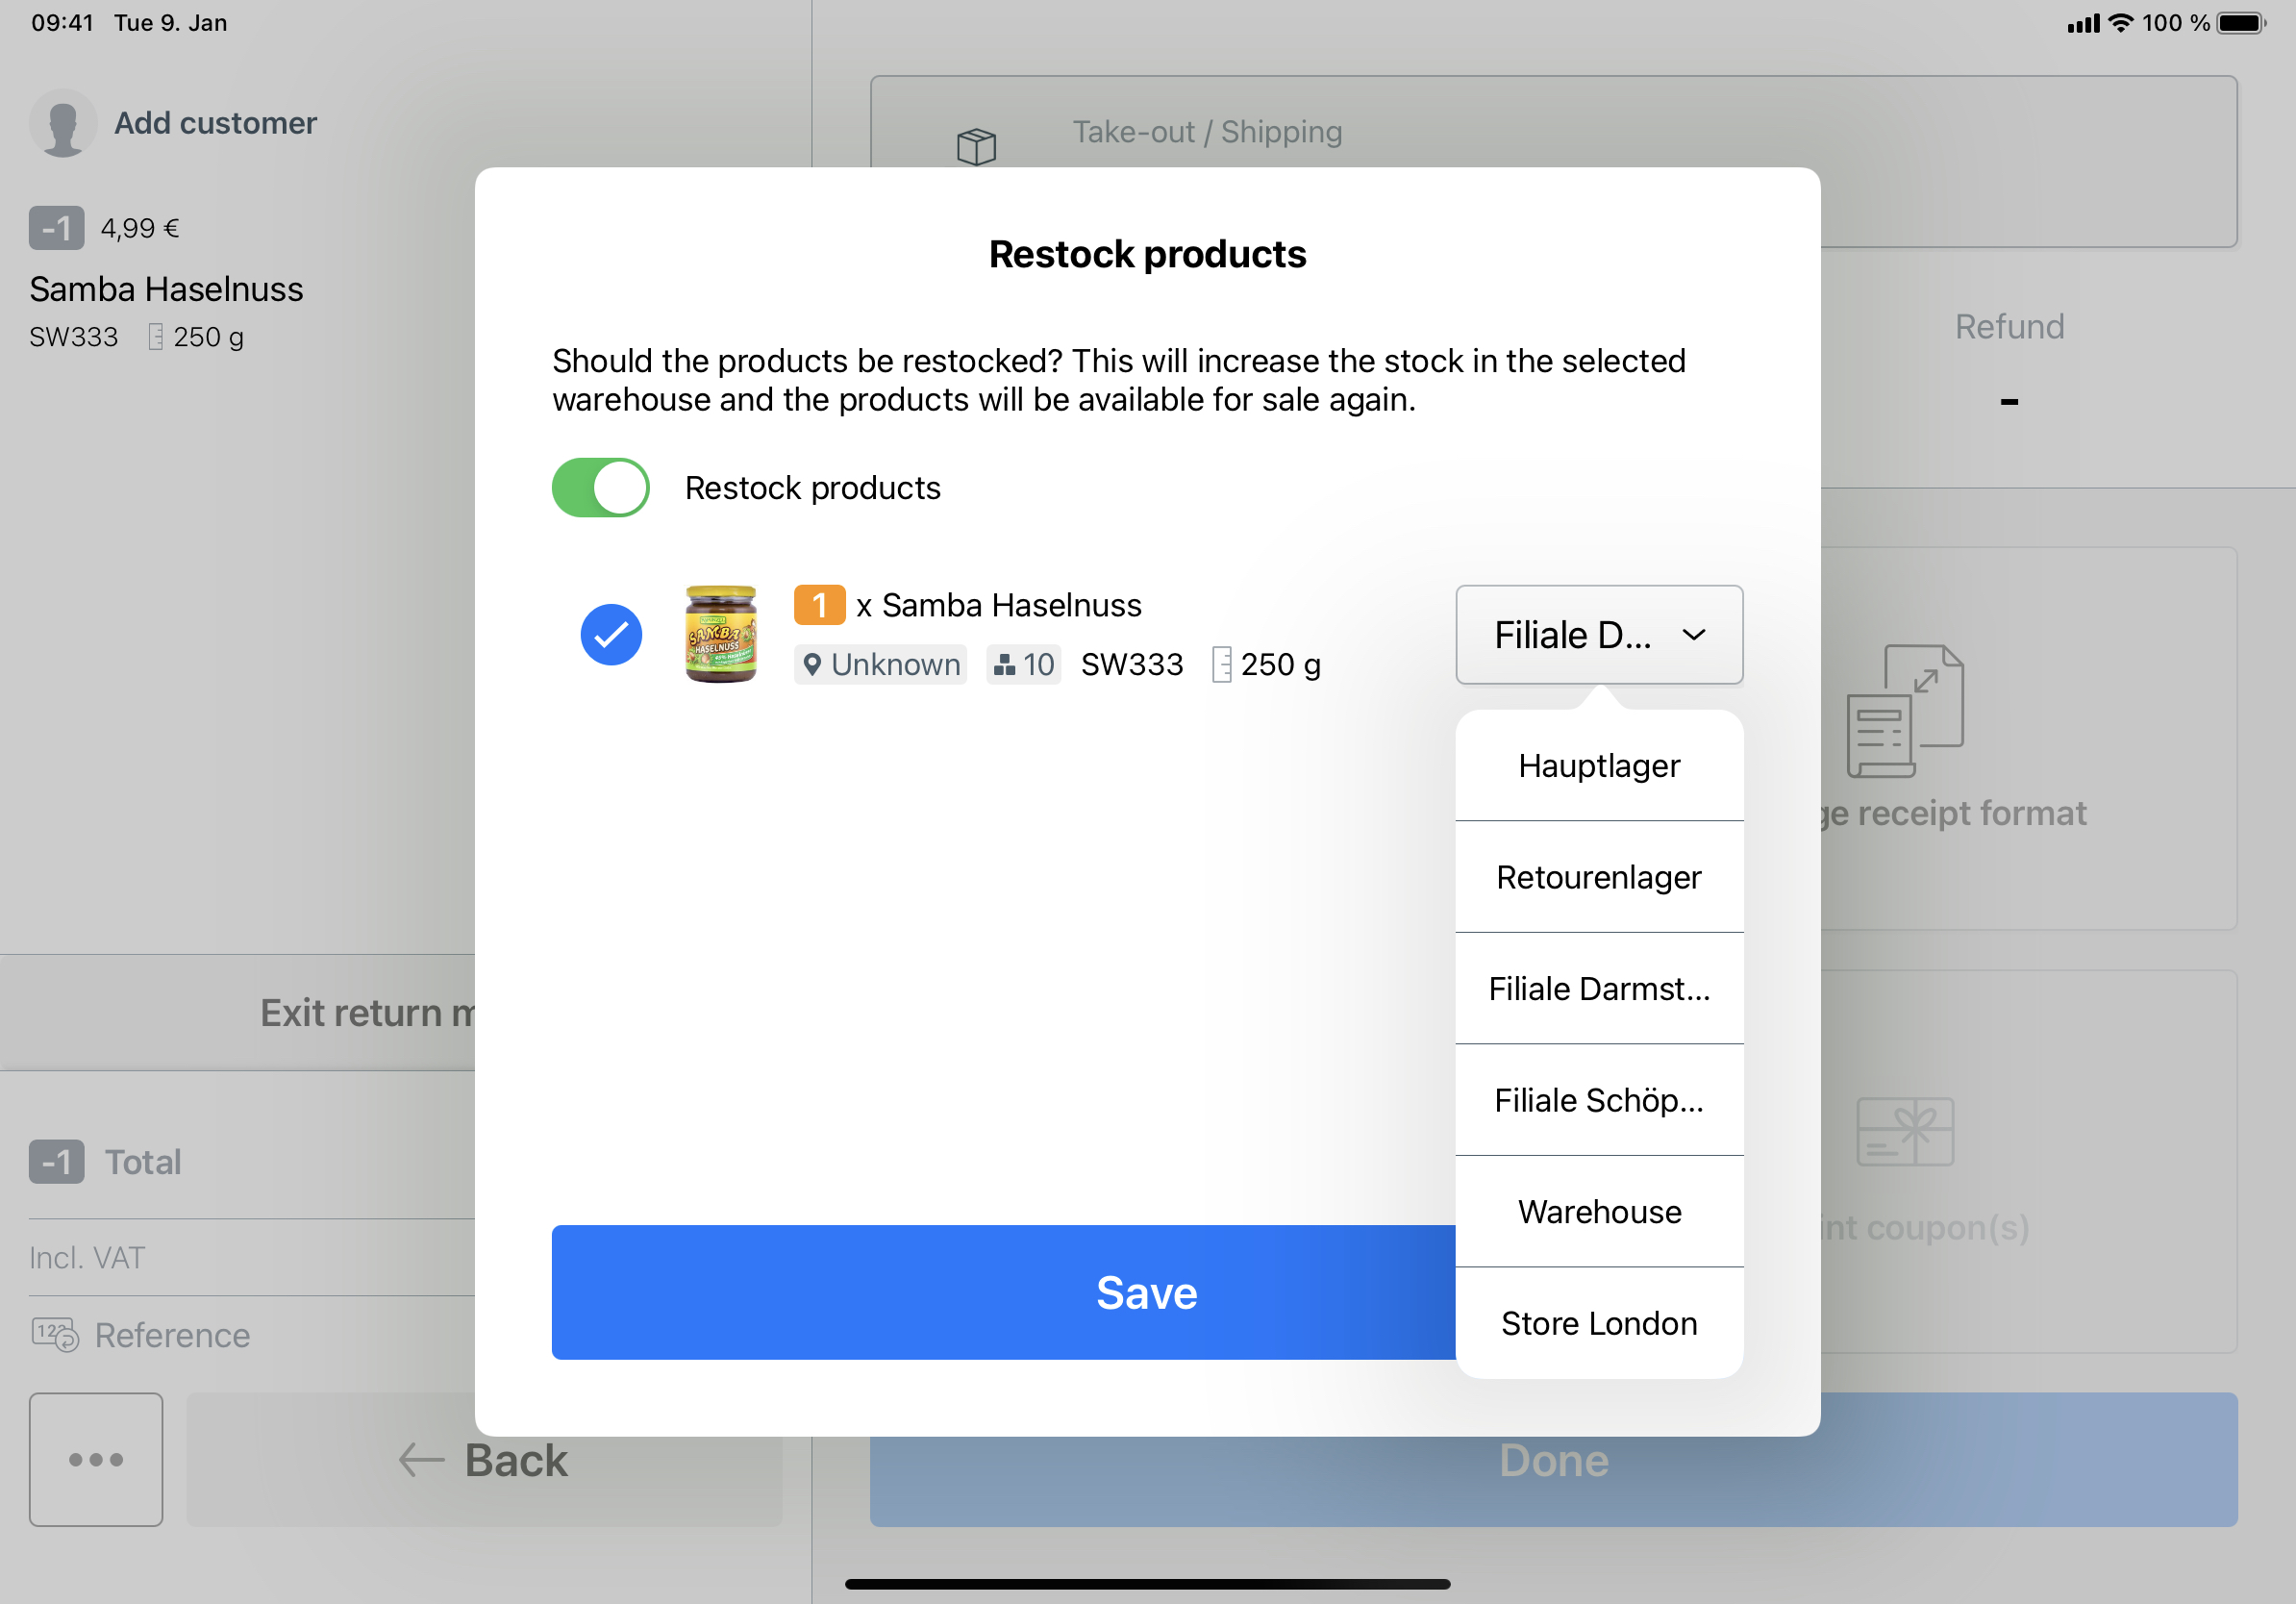
In the next window you can select the payment method for the refund and return the money. You then have the option to restock the goods and book them directly into a warehouse of your choice. If restocking is not possible because the goods are damaged, deactivate the option. To continue, press Save.

The next step is to print the cancellation receipt. As with sales, you also have the option of printing it in A4 format as a cancellation invoice or sending it to the customer by e-mail. You can complete the process by tapping Done.
After the refund has been made, the return is created accordingly in your Shopware backend as an order with a negative amount and the stock is increased again in case of restocking. In addition, a corresponding entry is created in the cash report with a negative amount.