To pick several orders at once, you first need special barcodes for picking boxes. The dialogue for creating these barcodes can be found in the Shopware backend under Items → Barcode labels → Printing → Picking boxes. For more on this topic, see this article.
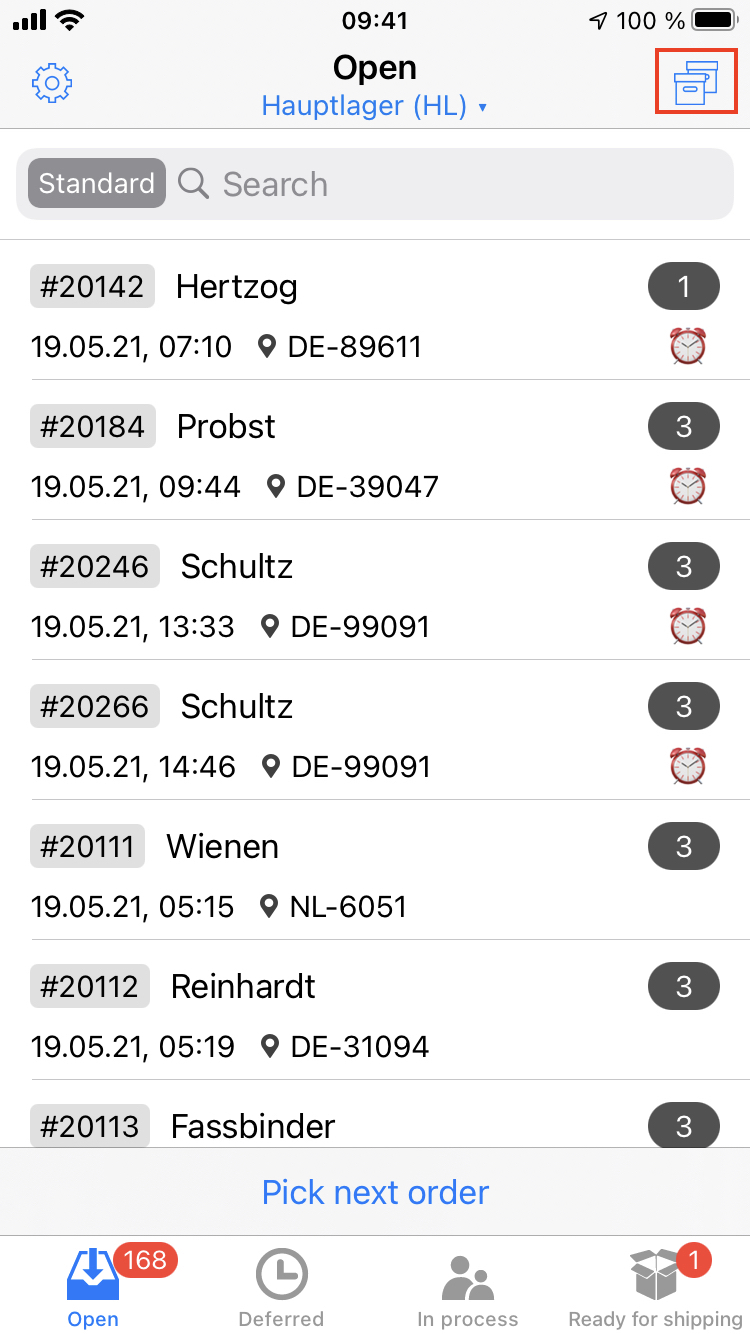
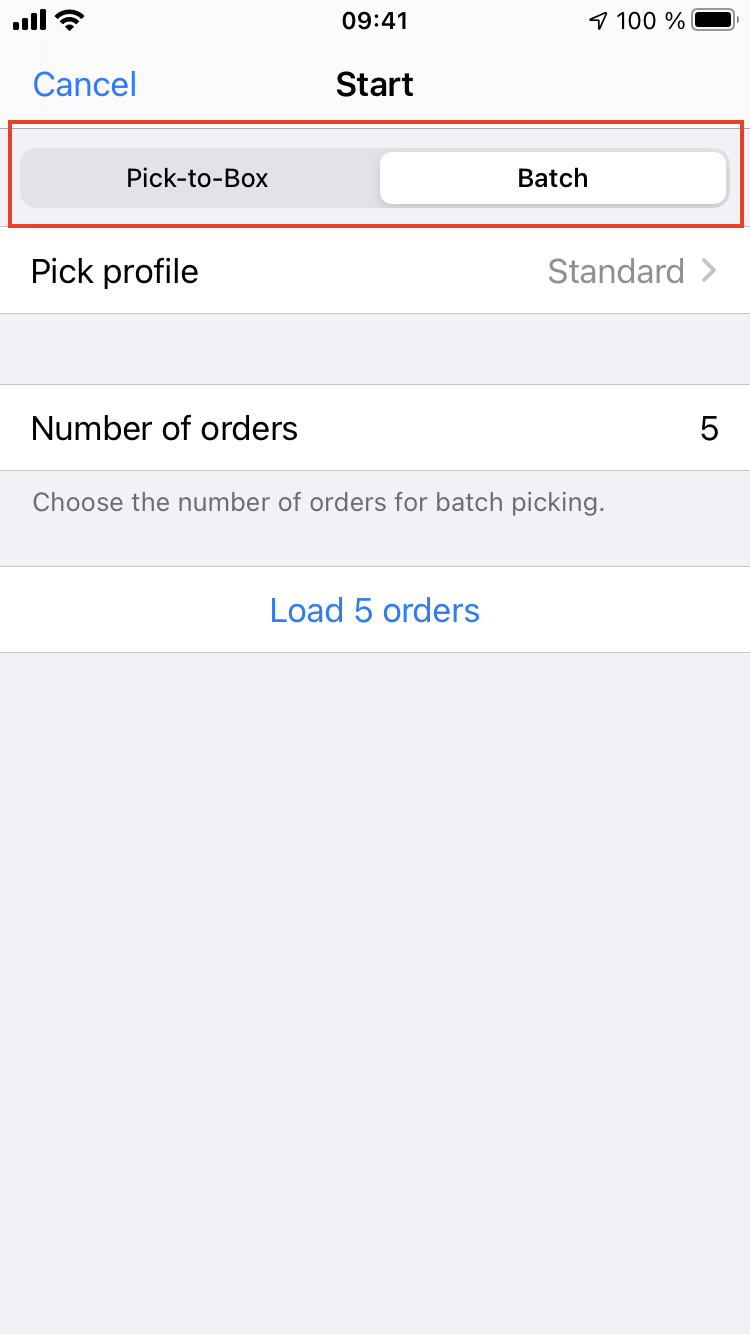
Navigate to the tab Open in the Picking app and tap on the box icon in the top right-hand corner to start picking. Here you can choose between Pick-to-Box and Batch. Alternatively, you can also scan the barcodes of the picking boxes from the Open tab to start directly in Pick-to-Box mode. How each mode works is explained below.
You can also use pick profiles when picking multiple orders at the same time. Use the corresponding button to select the desired pick profile. See this article for information on how to create pick profiles.
Pick-to-Box
Scan one of the picking boxes or start the process manually as described above. One box is needed for each order, so scan as many boxes as you want to pick orders. The next step is to load the corresponding number of orders. All items are sorted by bin location and identical items are grouped together. Now scan the items as usual and follow the instructions on the screen to sort the items into the appropriate boxes.
To create invoices and/or delivery notes as well as shipping labels for the picking boxes after the process is complete, scan the corresponding box in the Ready for shipping tab. You will now be taken to the document creation screen. Finally, to mark an order as shipped, scan the shipping label.
Individual orders can be put on hold during rolling picking if, for example, not all items are in stock. As soon as you have started Pick-to-Box picking and tap on the name of the box (e.g. Box 1 (#20000)) for an order that has already been (partially) picked in the app, a menu opens. There you will find, among other things, the option Defer picking. This puts the corresponding order on hold and the Pick-to-Box process can be continued with the remaining orders.
Here you can find the entire process of Pick-to-Box as a video:
Batch
Navigate to the tab Batch as described above. Enter the desired number of orders to be picked in the respective field, then tap on Load x orders. All items of the selected orders are now summarised and displayed sorted by bin location. Scan the items as usual and finally finish the process by tapping Complete batch.
In the next step, the collected goods must be assigned. To do this, scan any item and then any crate. The item is now assigned to this box. All other items in this order are automatically assigned to the same box. When all items have been processed, you will find the corresponding orders in the Ready for shipping tab. The final procedure is the same as for Pick-to-Box.
Here you can find the entire process as a video: